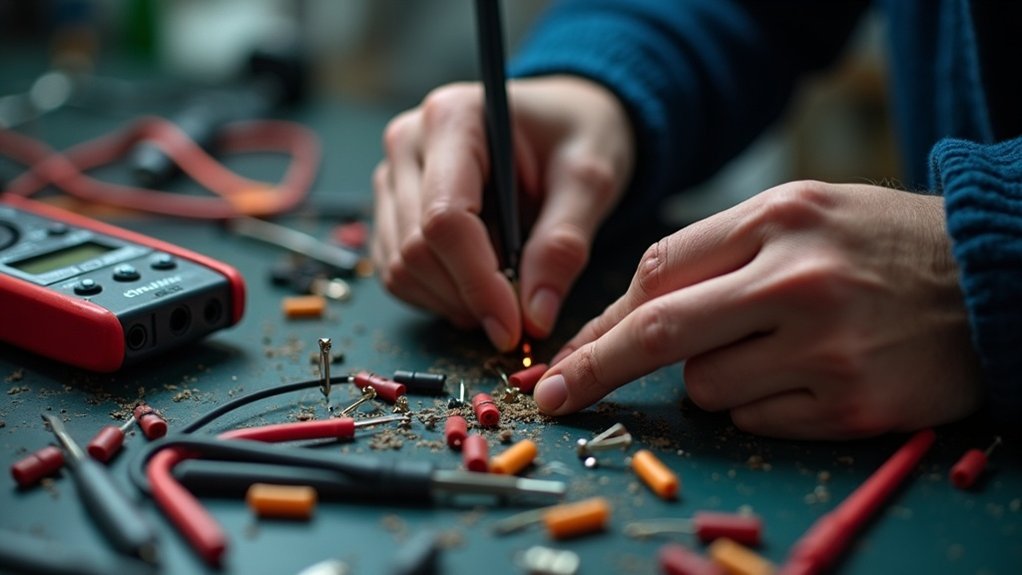
To test for loose connectors, start with a visual assessment for signs of damage, like cracks or corrosion. Use a multimeter to measure voltage and resistance at the terminals. Gently wiggle the connectors while monitoring for intermittent power fluctuations. Tighten any loose screws with a torque wrench according to specifications. Finally, consider thermal imaging to identify hotspots. These steps can prevent electrical failures, and there’s more to explore about ensuring connection integrity.
Key Takeaways
- Begin with a visual inspection for cracks, corrosion, or discoloration on connectors and wiring.
- Use a multimeter to check voltage and resistance, identifying any irregularities.
- Gently wiggle each connector while monitoring performance for signs of looseness.
- Tighten screws with a torque wrench according to manufacturer specifications for secure connections.
- Conduct thermal imaging scans to identify hotspots that indicate overheating issues at connections.
Importance of Identifying Loose Connectors
Identifying loose connectors is essential because they can lead to intermittent electrical failures that disrupt device functionality.
Loose connections increase resistance, resulting in overheating and potential fire hazards. To guarantee safety and efficiency, regular inspection and maintenance of these connectors is critical.
Timely detection prevents costly repairs and minimizes downtime caused by electrical system failures. Additionally, loose connectors can generate electrical noise, causing electromagnetic interference (EMI) that negatively impacts sensitive electronic systems.
Signs of Loose Electrical Connections
You should be aware of several signs indicating loose electrical connections.
Look for visual damage indicators like corrosion or discoloration on connectors, as these suggest potential issues.
Additionally, monitor for electrical performance issues, such as intermittent power fluctuations, which can signal underlying connection problems.
Visual Damage Indicators
Visual damage indicators are essential in diagnosing loose electrical connections. When inspecting connectors, look for cracks, corrosion, or discoloration, as these suggest deterioration. A loose fit can be assessed by wiggling the connectors; any movement indicates a potential issue. Unusual odors or excessive heat near connection points might signal arcing, while damaged wire insulation points to fraying, leading to intermittent connections. Additionally, observe for flickering lights or inconsistent sensor readings.
| Damage Type | Indicator |
|---|---|
| Cracks/Corrosion | Deterioration on connectors |
| Loose Fit | Movement when wiggled |
| Wire Insulation Wear | Fraying or damage visible |
Electrical Performance Issues
When loose electrical connections occur, they can lead to significant electrical performance issues that compromise device functionality.
Common signs you should watch for include:
- Intermittent power issues, like devices turning on and off unexpectedly.
- Increased resistance at connection points, causing overheating and potential damage.
- Voltage drops across poorly connected wires, resulting in erratic function in lights and appliances.
- Electrical noise leading to electromagnetic interference (EMI) or radio frequency interference (RFI).
Regular inspections for wear, corrosion, or loose fittings are essential in preventing these performance issues and ensuring reliable connections in your systems.
Tools Required for Testing Connectors
To effectively test connectors, you’ll need a few essential tools.
A multimeter allows you to measure voltage, current, and resistance, while a caliper guarantees proper wire and terminal dimensions.
Don’t forget your safety equipment, like gloves and goggles, to protect yourself during the testing process.
Essential Testing Tools
Testing connectors effectively requires a set of essential tools that assure accurate diagnostics and reliable repairs. You’ll need the following tools to guarantee peak performance at each connection point:
- Multimeter: To verify proper electrical continuity, voltage, and resistance testing.
- Magnifying Glass: For inspecting pins for damage like corrosion or misalignment.
- Contact Cleaner: To clean debris and oxidation, enhancing contact quality.
- Caliper: For precise measurements of wire and terminal dimensions, assuring compatibility.
Using these tools minimizes misidentification of issues, streamlining your repair process and enhancing overall efficiency.
Safety Equipment Needed
Safety in connector testing hinges on the right equipment to protect you from potential hazards. You should wear protective gloves to prevent skin contact with hazardous materials like battery acid.
Safety goggles are essential for shielding your eyes from debris or splashes during the process. For disconnecting battery cables, a 10mm or 8mm wrench is typically the right tool to guarantee safe handling.
Additionally, use a baking soda and water solution to neutralize battery acid and clean corroded connections.
Finally, employ a battery load tester to assess performance under simulated load conditions, minimizing wear and tear on connectors.
Steps to Test for Loose Connectors
When inspecting for loose connectors, start with a visual assessment to identify any visible damage, such as cracks, corrosion, or discoloration.
Look for signs of wear that may affect electrical systems. Next, use a multimeter to measure voltage and resistance at the terminals.
Then, perform the following steps:
- Wiggle each connector gently while monitoring electrical performance.
- Apply a torque wrench to tighten screws or fittings as per manufacturer specifications.
- Conduct thermal imaging scans during operation to detect hotspots.
- Verify continuity checks confirm readings are within expected specifications.
These steps will help guarantee reliable connections in your electrical systems.
Effects of Loose Connections on Electrical Systems
Loose connections in electrical systems can greatly impact performance and reliability, often leading to a cascade of issues. You might experience intermittent power disruptions, overheating, and even electrical fires. Over time, failing electrical connections can cause arcing, increasing maintenance costs and jeopardizing safety.
| Effect | Description |
|---|---|
| Intermittent Power | Devices turning on/off unexpectedly |
| Overheating | Increased resistance damaging surrounding parts |
| Voltage Drops | Reduced effectiveness of lights and appliances |
| Electrical Noise | EMI/RFI disrupting other systems |
Understanding these effects is essential for maintaining your electrical system’s integrity.
Preventative Measures to Avoid Loose Connections
Addressing the potential issues caused by loose connections is essential for maintaining ideal electrical system performance. You can take several preventative measures to avoid these problems and guarantee reliability:
- Regularly inspect connections for signs of wear, corrosion, or damage.
- Use appropriate tools and techniques, adhering to manufacturer standards to guarantee proper installation.
- Apply anti-corrosion solutions to terminals and connectors to combat moisture and oxidation.
- Confirm connections are properly torqued to the manufacturer’s specified requirements, preventing loosening from vibrations or thermal expansion.
When to Seek Professional Help
If persistent electrical issues disrupt your vehicle’s performance, consulting a professional is essential for a thorough diagnosis and effective repair. This is particularly important before an MOT test to avoid serious damage.
| Signs to Seek Help | Actions to Take |
|---|---|
| Flickering lights | Consult a connector specialist |
| Visible damage or corrosion | Get expert replacement options |
| Unresolved basic troubleshooting | Enlist professional assistance |
If thermal imaging reveals hotspots, or if you lack the tools to measure connections, don’t hesitate to seek professional help for safe, effective repairs.