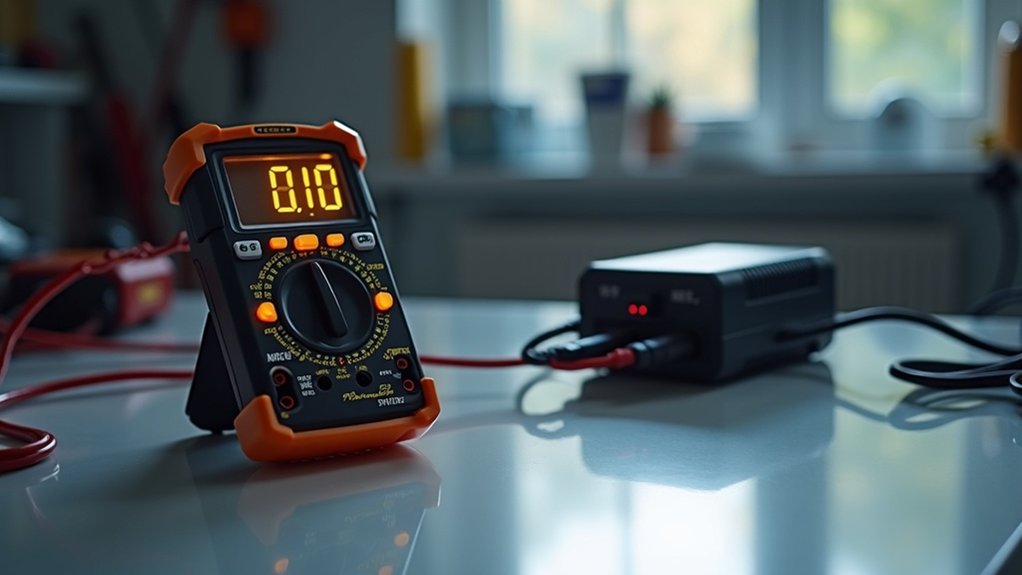
To test charger output safely, first unplug it and inspect for visible damage. Use a reliable digital multimeter set to measure DC voltage. Connect the multimeter probes to the charger terminals, guaranteeing a secure connection. Power on the charger if needed, then record the voltage reading. Compare it with the manufacturer’s specifications; stable readings indicate proper functionality. If you encounter issues, you’ll want to explore further diagnostic methods to ascertain reliability and safety.
Key Takeaways
- Unplug the charger from the power source before testing to prevent electric shock.
- Use a reliable digital multimeter set to measure DC voltage for accurate readings.
- Wear protective gloves and safety goggles to minimize injury risks during testing.
- Inspect the charger for visible damage and ensure your workspace is clean and dry.
- Document your voltage readings and compare them with manufacturer specifications for evaluation.
Understanding Charger Output Testing
When you test a charger’s output, you’re not just checking a number; you’re evaluating its performance and reliability.
Testing a charger’s output goes beyond mere numbers; it’s a crucial assessment of its performance and reliability.
Begin by using a multimeter to measure the voltage across the charger’s output terminals while it’s plugged in. A functioning charger should output a voltage slightly above the rated battery voltage, typically 36V to 42V for 36V systems and 48V to 54.6V for 48V systems.
Confirm the multimeter is set to DC voltage mode, and take safety precautions, like wearing gloves and goggles.
Document your readings and compare them with manufacturer specifications to identify any potential issues with the charger’s performance.
Tools and Equipment Needed for Testing
To accurately evaluate a charger’s output, you’ll need specific tools and equipment. A reliable digital multimeter is vital; make sure the multimeter is set to measure DC voltage to get precise readings of the charger’s output.
You’ll also need insulated tools to handle electrical components safely and prevent short circuits. Wearing protective gloves and safety goggles is important to protect against potential electrical shocks and sparks.
Additionally, maintain a clean and static-free work area to avoid interferences that could affect your results. Finally, having the printed technical specifications for the battery serves as a valuable reference point during testing.
Safety Precautions for Charger Testing
Before testing a charger, it’s essential to prioritize safety to minimize the risk of electrical shocks or short circuits. Implement these safety precautions:
- Always unplug the charger from the power source before testing.
- Use insulated tools and wear protective gloves and safety goggles to reduce injury risk from sparks or arcs.
- Confirm your work area is dry, clean, and static-free to prevent accidental short circuits.
Preparing for the Test
As you prepare for the test, make certain that the charger is completely unplugged from the power source to eliminate any risk of electrical shock.
Inspect the charger for visible damage, such as frayed cables or cracked casing, as these issues could affect performance.
Set up a clean, static-free workspace to avoid interference while ensuring safe handling of the charger and testing equipment.
Wear protective gloves and safety goggles to mitigate risks associated with electrical components.
Finally, make sure you have a reliable multimeter ready, set to the DC voltage measurement mode, to address your battery charger needs accurately.
Step-by-Step Guide to Testing Charger Output
To test the charger output effectively, start by ensuring the charger is plugged in and switched on if needed.
Next, set up your digital multimeter correctly and prepare for the voltage measurement.
This systematic approach guarantees accurate readings and helps identify any potential issues with the charger.
Preparation Steps for Testing
Testing charger output requires meticulous preparation to guarantee safety and accuracy. Follow these steps to ascertain a successful test:
- Unplug the charger and disconnect the battery to prevent electrical shock.
- Set your multimeter to DC voltage measurement mode and verify it’s calibrated.
- Inspect the charger for any visible damage or wear.
Once you’ve confirmed safety measures are in place, securely connect the multimeter probes—black to negative, red to positive.
Afterward, plug the charger back in to observe and take a reading of the voltage level, ascertaining proper power delivery during the test.
Conducting the Voltage Test
With safety measures firmly in place, you can proceed to conduct the voltage test.
First, verify the charger’s plugged into a power supply and switched on. Set your multimeter to “DC” voltage mode, connecting the black probe to the “COM” terminal and the red probe to the “V” terminal.
Touch the black probe to the charger’s negative contact and the red probe to the positive contact to measure the actual output. The reading should fall within the specified voltage range for your battery type, typically slightly higher than the rated voltage.
A lower output indicates potential malfunction or replacement needs.
Analyzing Test Results and Common Issues
When you analyze voltage readings, guarantee they align with the manufacturer’s specifications for proper functionality.
Significant deviations could indicate malfunctions, such as degraded components or faulty connections.
Interpreting Voltage Readings
How can you accurately interpret voltage readings from your charger? Start by comparing your results against the manufacturer’s specifications.
- A 36V charger should output between 36V and 42V.
- A 48V charger needs to deliver between 48V and 54.6V.
- Voltage readings below 13.2 volts may indicate issues with the battery or charger.
If voltage remains constant during charger testing, it might signal a malfunction or improper connection.
Consistently low readings can suggest internal damage, while fluctuating values may denote regulation problems or loose connections.
Understanding these factors guarantees safe operation and reliable battery voltage management.
Identifying Charger Malfunctions
Interpreting voltage readings accurately sets the stage for identifying charger malfunctions. When testing a battery charger, a stable voltage that matches or slightly exceeds the specific voltage indicates proper functionality.
Conversely, consistently low outputs suggest internal damage. Fluctuating readings may signal faulty regulation, risking unsafe charging. If you see 0 volts without a battery connected, it often points to a malfunction, as many modern chargers require a load to function.
Additionally, overheating chargers, even with correct voltage, can indicate internal issues. Verify compatibility between charger voltage and battery requirements to avoid undercharging or overcharging, which results in inconsistent voltage readings.
Common Charging Issues
While testing charger outputs, you may encounter several common issues that can impact performance and safety. These issues often stem from incorrect voltage readings or settings during your tests.
- Consistently low voltage readings may indicate degradation.
- Fluctuating outputs can suggest voltage regulation problems.
- Confirm you always probe to the negative terminal for accurate readings.
If the charger overheats despite correct initial readings, thermal issues could arise, affecting longevity.
Using incompatible chargers can lead to undercharging or overcharging, making it essential to verify specifications against battery requirements to avoid damage.
Address these issues promptly to guarantee safe and effective charging.
When to Seek Professional Help
When should you consider bringing in a professional to evaluate your charger? If you’re unsure about testing procedures or lack the correct equipment, professionals can guarantee accurate assessment. They can spot issues like internal circuit failures that might not show up with basic tests. Additionally, if your charger consistently shows low or fluctuating voltage outputs, this signals a deeper problem needing expert analysis. Regular maintenance checks by technicians can also extend the lifespan of your charger and battery.
| Indicator | Action Needed | Reason |
|---|---|---|
| Inconsistent Output | Seek professional help | Possible internal issues |
| Testing Equipment | Verify with experts | Confirm correct usage of test probes |
| Safety Concerns | Consult a technician | Confirm operating within safe limits |