To set up bar ends for hand relief, you’ll first need a few tools like a screwdriver and an Allen wrench. Start by removing your old bar ends, using a screw for leverage if needed. Once they’re out, adjust your grips and shifters to make space. Position the new bar ends at a comfortable angle and secure them tightly. Finally, add end caps for a snug fit that prevents dirt entry. Keep going to discover more installation tips!
Key Takeaways
- Install bar ends to provide multiple hand positions, reducing fatigue during long rides.
- Position bar ends at a comfortable angle to promote an upright riding posture for better power transfer.
- Ensure proper alignment by placing the bolt facing back and tightening securely for optimal functionality.
- Utilize grips to alleviate pressure on hands and wrists, especially beneficial for older riders.
- Regularly inspect and maintain bar ends to ensure they remain snug and prevent dirt or moisture entry.
Benefits of Installing Bar Ends
When you install bar ends on your bike, you’re not just making a simple upgrade; you’re enhancing your overall riding experience.
Bar ends provide multiple hand positions, allowing you to shift your grip and reduce fatigue during long rides. This versatility greatly boosts riding comfort, especially on climbs, as they promote a more upright position that enhances power transfer and minimizes strain on your back.
For older riders, bar ends offer essential hand relief, alleviating pressure on hands and wrists. Improved overall riding posture contributes to better aerodynamics and stability, making your time on the bike even more enjoyable.
Tools Needed for Installation
Installing bar ends requires just a few essential tools to guarantee a smooth process.
You’ll need a screwdriver to help remove old bar ends, making it easier to pull them out with pliers. Pliers are vital for gripping and extracting those stubborn ends once they’re loosened.
Depending on your bar ends, an Allen wrench might be necessary to adjust or tighten the shifter bolt, ensuring everything fits perfectly.
Don’t forget to maintain a clean workspace with good lighting; this helps prevent losing small parts like screws or end caps, keeping your installation efficient and hassle-free.
Happy installing!
Removing Old Bar Ends
Removing old bar ends can seem challenging, but with the right approach, you can tackle it efficiently.
Start by screwing a screw into the bar end to create leverage, which helps loosen it from the handlebar. Once it’s loose, use pliers to grip and pull it out. Be careful not to damage your handlebars during this process.
If it’s stubborn, applying a little bit of lubricant around the edges can help. After removal, make sure to check for any residual adhesive or debris in the handlebar.
You’ll be one step closer to having everything looking good for your new bar ends!
Adjusting Grips and Shifters
With the old bar ends out of the way, it’s time to adjust your grips and shifters for ideal comfort and performance.
Start by sliding the grip down the handlebar to create space for the bar ends. Next, loosen the shifter bolt, allowing the shifter to move easily. Shift it forward as needed to guarantee the grip can slide in without obstruction.
Slide the grip down, loosen the shifter bolt, and shift it forward to ensure a smooth fit for the bar ends.
Remember, grip movement can vary by bike model, so check compatibility before finalizing positions.
Once everything’s adjusted, tighten the shifter bolt to secure it in place and maintain proper alignment for a smooth ride.
Positioning and Securing Bar Ends
When you’re ready to position and secure your bar ends for ideal hand relief, start by ensuring you’ve created enough space on the handlebar by sliding the grip down.
Next, loosen the shifter bolt to adjust the shifter forward, allowing for unobstructed movement.
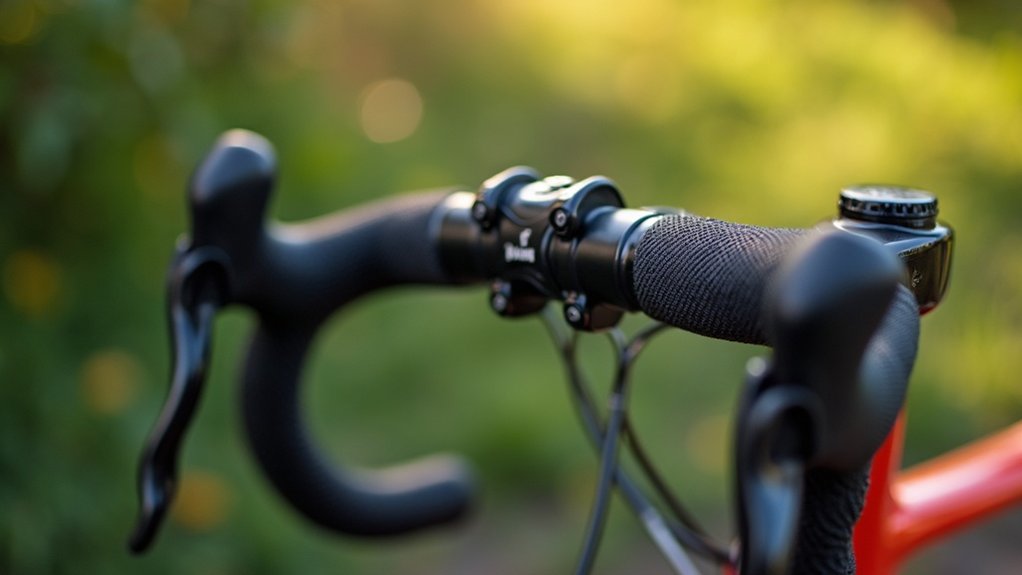
Position the bar ends at a comfortable angle, with the bolt facing back for proper alignment.
Once you’ve found the perfect spot, tighten the shifter bolt to secure everything in place, preventing any movement during rides.
This careful positioning not only enhances functionality but also maintains an aesthetically pleasing setup for your bike.
Completing the Installation With End Caps
As you wrap up your bar end installation, pay close attention to the orientation of the end caps—make sure the letter “B” is upright.
A secure fit is essential; this not only enhances the look of your bike but also boosts safety by keeping dirt out.
End Cap Orientation Importance
Properly orienting the end caps is essential for guaranteeing your bar ends function effectively and look great. Make sure the cap marked with a “B” is installed upright; this simple step guarantees proper functionality.
Inserting the end cap securely prevents dirt and moisture from entering the handlebars, safeguarding your setup. A snug fit not only enhances the aesthetic appeal of your bike but also boosts safety and performance during rides.
Additionally, a clean installation prevents rattling and movement, maintaining the integrity of your bar ends. Attention to detail in this process reflects your commitment to quality bike maintenance.
Secure Fit Verification
Securing your bar ends is essential for a smooth and safe riding experience.
Begin by inserting the end cap marked with a “B” into the bar end hole, ensuring the letter is upright for proper orientation.
After installing the bar ends, check that the end caps fit snugly to prevent any movement during your rides.
Make sure both bar ends and end caps align correctly, eliminating excess gaps for a clean look.
Finally, inspect all components to confirm they’re tightened appropriately, providing a secure fit that enhances your overall riding comfort and performance.
Enjoy your ride with confidence!
Aesthetic Installation Considerations
While installing your end caps, it’s important to contemplate both functionality and aesthetics to create a polished look for your bike.
Follow these steps to achieve a professional finish:
- Confirm the letter “B” is upright for proper alignment.
- Secure the fit to keep dirt and moisture at bay.
- Aim for a clean appearance, reflecting your bike’s quality.
- Prevent sharp edges for enhanced safety and comfort.