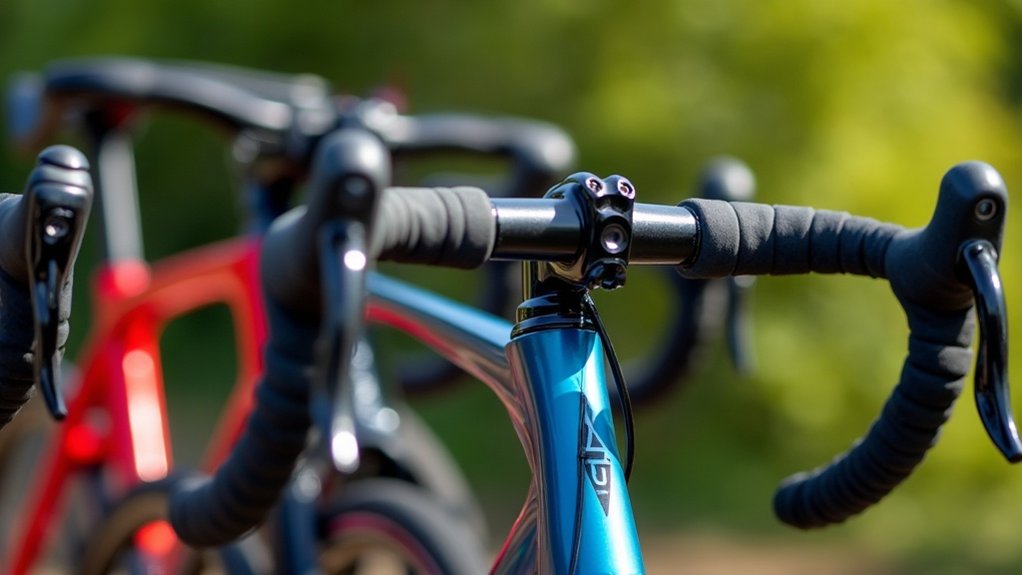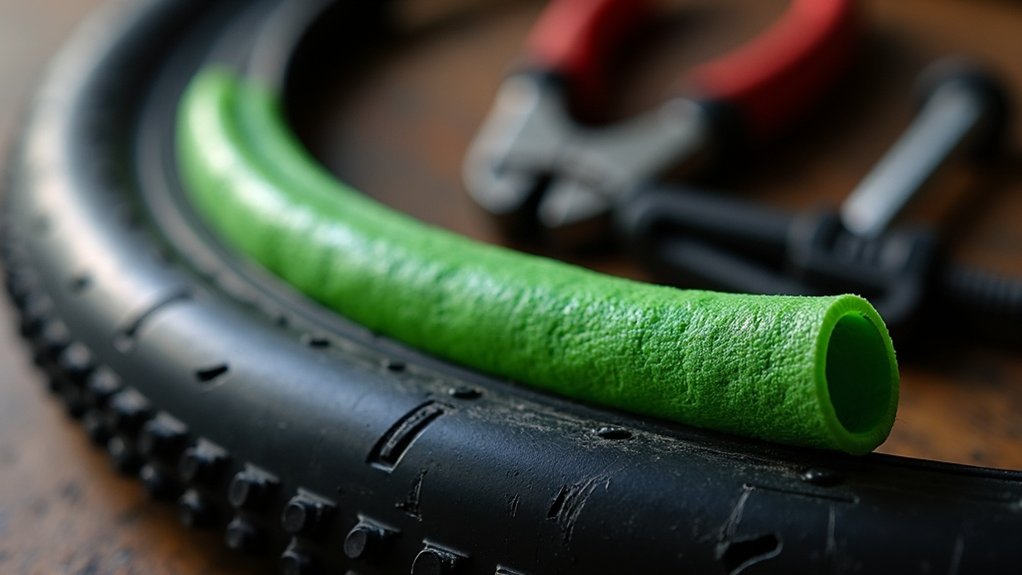
To set tire liners for puncture resistance, gather your tools: a valve core remover, plastic tire lever, and pump. First, remove the valve core and pop the tire bead off. Place the Tuffy liner on the inner tube, ensuring it overlaps as needed. Set the tire bead evenly against the rim, then inflate to the recommended PSI while checking for bulging. Finally, take a test ride to assess performance and stability; further adjustments may enhance your riding experience.
Key Takeaways
- Remove the valve core using a valve core remover to safely deflate the tire before installation.
- Pop the tire bead off the rim using your hands or a plastic tire lever for better access.
- Place the smooth side of the Tuffy liner on the inner tube, ensuring the ends overlap properly.
- Inflate the tire gradually while monitoring for bulging to ensure proper seating against the rim.
- Maintain recommended tire pressure post-installation for optimal performance and puncture resistance.
Required Tools for Installation
To install tire liners effectively, you’ll need a few essential tools. Start with Tuffy liners, specifically designed for puncture resistance.
A plastic tire lever will help you easily remove the tire from the rim, while a valve core remover allows you to safely take out the valve core without damage.
Don’t forget a pump for inflation post-installation; a hand pump or water can simplify the process, especially on hot days.
Clear your work area and flip your bike upside down for better access.
Finally, remember to store the valve core safely to avoid losing it during the installation.
Preparing Your Bike for Tire Liner Installation
Before diving into the installation of tire liners, it’s essential to prepare your bike properly to guarantee a smooth process. Make sure you gather all necessary tools, like Tuffy liners, a plastic tire lever, a valve core remover, and a pump. I’m pretty sure flipping your bike upside down or using a stand will make access easier. Also, remove any accessories from the handlebars to avoid interference. Finally, clear your work area for safety and organization.
| Task | Importance |
|---|---|
| Gather necessary tools | Secures readiness |
| Remove accessories | Prevents installation issues |
| Clear work area | Enhances safety and focus |
Removing the Valve Core and Tire Bead
To begin the installation of tire liners, you’ll first need to remove the valve core using a valve core remover, ensuring it’s stored securely during the process.
Once that’s done, pop both sides of the tire bead out of the rim, either by hand or with a plastic tire lever if necessary.
This step is essential for gaining easy access to the inner tube and preparing for the installation of the Tuffy liner.
Valve Core Removal Process
When you’re ready to install tire liners for puncture resistance, the valve core removal process is essential for a smooth installation. Use a valve core remover to safely extract the valve core, allowing for easier deflation. Store the removed core securely to prevent loss. To pop the tire bead, you can typically do it by hand; if that’s tough, a plastic tire lever is helpful. Verify both sides of the tire bead are fully popped out. This method can be performed without removing the tire completely, making it pretty much more convenient.
| Step | Action | Notes |
|---|---|---|
| 1 | Use valve core remover | Extract core safely |
| 2 | Store valve core | Prevent loss |
| 3 | Attempt to pop bead | Use hands or lever |
| 4 | Check both sides | Verify full pop |
| 5 | Proceed with installation | Convenience assured |
Tire Bead Techniques
As you prepare to install tire liners, mastering tire bead techniques is essential for guaranteeing a smooth process.
- Use a valve core remover to extract the valve core securely.
- Store the valve core safely for later reinstallation.
- Pop the tire bead out by hand first; if needed, use a plastic tire lever.
- Confirm both sides of the tire bead are free from the rim.
- Clean the inner tube thoroughly before placing the Tuffy liner on top.
These steps simplify the installation, allowing you to enhance puncture resistance effectively without fully removing the tire.
Safe Storage Tips
While removing the valve core is essential for a smooth tire liner installation, proper storage of the core guarantees you won’t misplace it during the process. Use a valve core remover for safe extraction and place the core in a secure location.
To facilitate tire bead removal, try popping the bead by hand first; if it’s stubborn, employ a plastic tire lever. Make certain both sides of the bead are fully popped to ease access for liner installation.
After removing the valve core, inflate the inner tube slightly, which keeps the Tuffy liner in place and assures correct seating before proceeding.
Installing the Tuffy Liners
Installing Tuffy liners involves a series of straightforward steps that enhance your tire’s puncture resistance. Here’s how to proceed:
- Clear work area, ensuring safety.
- Gather tools: plastic tire lever, valve core remover, and pump.
- Remove the valve core with the remover.
- Pop the tire bead off the rim, using your hands or a tire lever.
- Place the smooth side of the Tuffy liner on the inner tube, overlapping ends as needed.
Inflate the inner tube slightly to secure the liner, then carefully reseat the tire on the rim.
Finally, inflate to the recommended psi and test ride for stability.
Setting the Tire Bead on the Rim
When setting the tire bead on the rim, guarantee you work around the tire in a circular motion to achieve a secure fit.
Monitor the inflation closely, looking for any signs of bulging that may indicate improper seating. Inflate to the recommended psi for peak performance, and don’t forget to replace the valve cover afterward to keep debris out.
Proper Tire Installation Techniques
To guarantee a successful tire installation, start by properly setting the tire bead on the rim. Follow these steps for ideal results:
- Confirm the tire’s edge evenly seats against the rim by rotating it in a circular motion.
- Use an electric pump for efficient inflation or a manual pump if you prefer.
- Carefully monitor for any bulging while inflating to confirm proper seating.
- Once the desired psi is achieved, replace the valve cover to keep contaminants out.
- Finally, conduct a test ride to verify stability and alignment, confirming the bead is securely set on the rim.
Monitoring Inflation Levels
After ensuring the tire bead is properly set on the rim, monitoring inflation levels becomes essential for maintaining tire performance and safety.
Use an electric pump for efficiency, or a manual pump if preferred, but always inflate to the recommended psi marked on the tire’s sidewall. As you inflate, watch for any bulging, which indicates the tire is seating correctly without misalignment.
Once inflated, replace the valve cover to keep dirt and debris out.
Finally, conduct a test ride to assess the tire’s stability and handling, confirming that the inflation level supports peak performance throughout your ride.
Ensuring Secure Fit
Securing the tire bead on the rim is essential for ideal performance, and it requires careful attention to detail.
Follow these steps to guarantee a secure fit:
- Rotate the tire in a circular motion for even seating.
- Use an electric pump for quick inflation, or a manual pump for precision.
- Watch for bulging during inflation to confirm proper bead seating.
- Once inflated to the recommended psi, replace the valve cover to keep debris out.
- Conduct a final test ride to check for stability and guarantee no wobbling occurs.
This process will enhance your tire’s puncture resistance effectively.
Inflating the Tire to Recommended PSI
Inflating your tire to the recommended PSI is essential for ideal performance and safety. Check the sidewall of the tire for the specified pressure.
Inflating your tire to the recommended PSI is crucial for safety and performance; always refer to the sidewall for guidance.
As you inflate, monitor the tire closely for any bulging, indicating improper bead seating. An electric pump offers convenience, but a manual pump effectively achieves the desired PSI as well.
Once inflated, replace the valve cover promptly to maintain tire integrity and prevent dirt from entering the valve stem.
Regularly checking tire pressure before rides guarantees consistent performance and enhances puncture resistance, ultimately contributing to a safer riding experience.
Conducting a Test Ride
How does your bike feel after installing Tuffy liners for puncture resistance? Conducting a test ride is essential to assess stability and handling.
Pay attention to:
- A smooth glide over uneven pavement
- The crisp response when cornering
- Any hints of wobbling or shaking
- The consistent grip on the road
- The overall comfort during the ride
Ensure your tires are inflated to the recommended psi before starting.
Monitor how the liners affect performance and note any changes in handling characteristics, as the added weight from the liners may influence your ride. Your observations will guide future adjustments.
Tips for Maintaining Tire Performance
To guarantee your bike’s tires perform at their best, regularly checking tire pressure is vital. Maintain it within the recommended psi range to prevent premature wear on both tires and liners.
Before installing liners, clean the tire and inner tube of any debris to enhance adhesion and effectiveness against punctures. Monitor for bulging during inflation to verify proper tire bead seating, which is essential for stability.
After installation, conduct test rides to evaluate handling and stability, addressing any issues immediately. Finally, engage with the eBike community to share experiences and gain valuable tips for improving tire longevity.