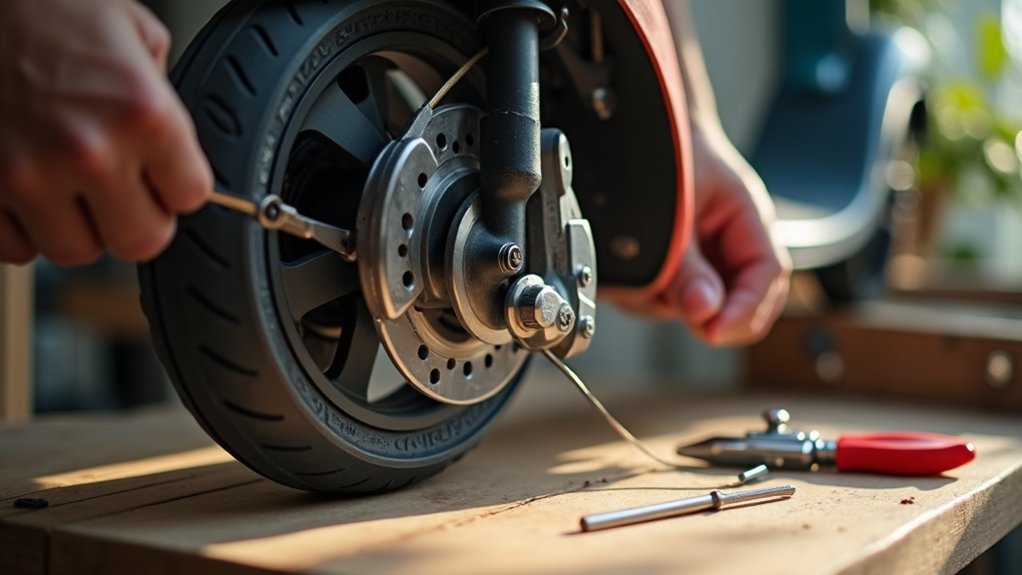
To replace a scooter brake cable, start by detaching the old cable from the caliper and removing it completely. Next, route the new cable through the deck and insert it into the brake caliper. Measure and cut the cable to the right length, guaranteeing it’s secure. Adjust the cable tension, making sure the caliper contacts the disc firmly. Finally, test the brake lever and take a short ride to verify everything’s working properly, and discover more about maintenance tips.
Key Takeaways
- Detach the old brake cable from the caliper and ensure complete removal through the deck.
- Route the new brake cable through the deck opening and align it with the brake caliper.
- Measure and cut the cable length before inserting it into the brake caliper securely.
- Pull the cable to eliminate slack, then tighten the caliper bolt for proper alignment.
- Test the brake functionality by squeezing the lever and adjusting tension as needed after a test ride.
Removing the Old Brake Cable
To begin removing the old brake cable, you’ll first need to detach the brake line from the caliper using the plastic nut located at the back.
Once disconnected, pull the full brake line out to access the cable. Make sure to loosen the top nut; this step is essential for facilitating the cable’s removal from the caliper.
Disconnect the brake line and loosen the top nut to easily remove the cable from the caliper.
The brake line runs through the deck, allowing for complete removal of the cable assembly.
Before proceeding, inspect both the interior metal brake cable and the outer green sheath for corrosion, as these components may need replacement during this process.
Installing the New Brake Cable
With the old brake cable removed, you can now proceed to install the new cable.
Start by routing the new cable through the opening below the deck, pulling it up to the brake caliper for proper alignment.
Insert the interior cable into the brake caliper, ensuring it’s positioned correctly for smooth operation.
Use a tool to measure, preventing you from cutting the cable too short for ideal length when connecting to the brake handle.
Slide the cable through the front of the brake caliper and securely attach the connector.
Finally, trim any excess cable for a clean finish, avoiding snagging.
Adjusting the Brake Cable Tension
Once the new brake cable is installed, adjusting the brake cable tension becomes critical for peak performance.
Adjusting brake cable tension after installation is essential for optimal performance and safety.
Follow these steps for proper adjustment:
- Pull the cable down to eliminate any slack.
- Move the brake caliper forward until it contacts the disc.
- Tighten the back bolt of the caliper securely.
- Test the brake lever to confirm it engages effectively without excessive force.
After your initial adjustment, always test the brakes to see if further fine-tuning is needed.
Regularly check the cable tension after your first ride to maintain an effective braking response for safe riding.
Ensuring Proper Brake Caliper Alignment
Guaranteeing proper brake caliper alignment is essential for peak braking performance and safety.
Start by pulling the brake cable down to eliminate any slack before securing the caliper. Next, move the brake caliper forward until it makes solid contact with the disc. This step assures ideal alignment.
Once aligned, tighten the back bolt of the caliper firmly to prevent any movement during operation.
After installation, take a test ride to evaluate the brake response and alignment. If necessary, make additional adjustments to the front hand brake to maintain proper caliper alignment and guarantee a responsive braking system.
Testing Brake Functionality
After securing the brake caliper, it’s time to test the brake functionality to guarantee everything is working correctly. Follow these steps for an effective test:
After installing the brake caliper, ensure optimal performance by testing the brake functionality with these essential steps.
- Pull the brake cable down to eliminate any slack and maintain proper tension.
- Manually squeeze the brake lever to check if the caliper engages the brake disc smoothly without dragging.
- Conduct a test ride in a safe area, observing the braking response when pulling the lever.
- After your initial ride, assess brake performance; adjust cable tension or caliper alignment if the brakes feel loose or unresponsive.
Regularly check functionality to maintain peak performance.