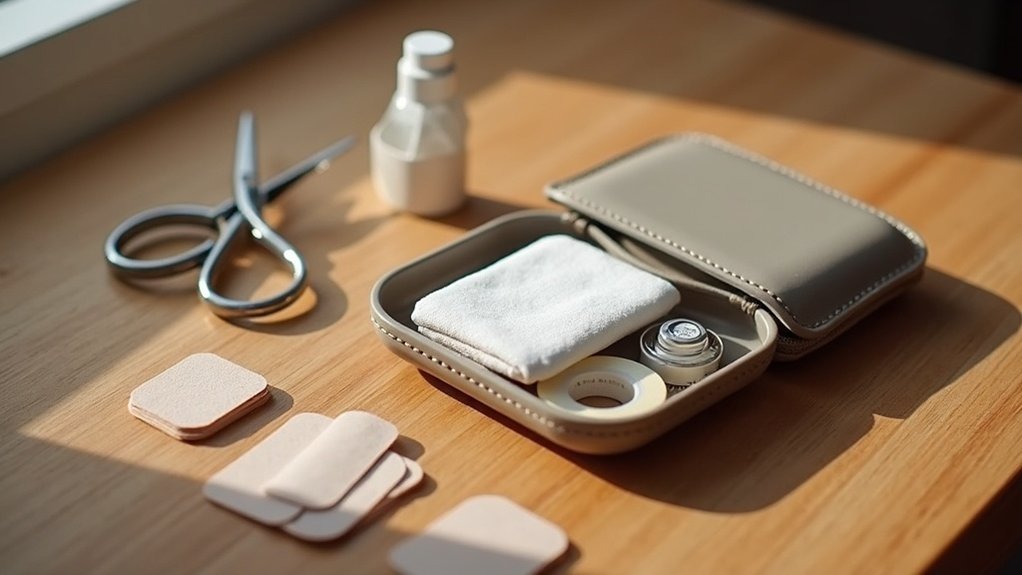
To pack a minimal first aid kit, start with adhesive bandages, antiseptic wipes, gauze pads, tweezers, and pain relievers like ibuprofen. Add over-the-counter medications such as antihistamines and topical antibiotics. Personalize your kit based on your family’s health needs and activities, including necessary prescriptions. Use a compact, waterproof container and organize supplies in labeled bags. Regularly check for expired items and restock as needed. Discover how to further enhance your kit for peak preparedness.
Key Takeaways
- Choose a compact, waterproof container to ensure portability and protection of supplies from moisture.
- Include essential items like adhesive bandages, antiseptic wipes, gauze pads, and tweezers for basic injuries.
- Personalize the kit with individual medications, emergency contacts, and health history to suit specific needs.
- Use labeled zip-lock bags to categorize and organize supplies for quick access during emergencies.
- Conduct regular inventory checks to replace expired items and restock used supplies.
Essential Items for Your Minimal First Aid Kit
When packing a minimal first aid kit, you’ll want to include several essential items that can handle common injuries.
Start with adhesive bandages in assorted sizes for minor cuts and scrapes. Essential antiseptic wipes, preferably BZK-based, are vital for cleaning wounds to prevent infection.
Include gauze pads and adhesive tape for larger injuries, ensuring they’re sterile. Don’t forget tweezers to remove splinters or ticks effectively.
Finally, pack pain relievers like ibuprofen or acetaminophen to manage discomfort.
These first aid supplies will prepare you for most everyday mishaps, ensuring you’re ready for anything life throws your way.
Over-the-Counter Medications to Include
To guarantee your minimal first aid kit is truly effective, you should include a selection of over-the-counter medications that address common ailments. Here’s a quick reference table to help you pack:
| Medication Type | Purpose | Example |
|---|---|---|
| Pain Relievers | Manage discomfort, reduce fever | Ibuprofen, Acetaminophen |
| Antihistamines | Relieve allergic reactions | Diphenhydramine |
| Antacids | Address stomach upset | Tums, Rolaids |
| Topical Antibiotic | Prevent infection in cuts | Bacitracin |
| Anti-Nausea Medications | Combat nausea, motion sickness | Meclizine |
Including these over-the-counter medications guarantees your first aid kit is ready for emergencies.
Personalize Your Kit for Specific Needs
Personalizing your first aid kit is essential for addressing your unique health needs and activities. Start by evaluating your individual and family health requirements.
Include necessary medications, like asthma inhalers or EpiPens for allergies. Don’t forget to add personal emergency contact information and medical history to your kit, ensuring your health care provider has the details they need in an emergency.
Tailor your supplies based on planned activities, such as packing blister pads for hiking. If you have pets, include pet-specific items like bandages or medications.
Regularly update your emergency kit as health needs change to keep it effective.
Storage Solutions for Easy Access
To guarantee your first aid kit is easily accessible, start by choosing a compact, waterproof container that fits in your backpack or car.
Use labeled zip-lock bags to categorize supplies for quick identification during emergencies.
Finally, consider portable travel solutions that keep everything organized and ready for action whenever you need it.
Compact Container Options
When you’re packing a minimal first aid kit, selecting the right container is essential for ensuring easy access during emergencies. A compact container can make all the difference.
Consider these options:
- Zippered pouch – Lightweight and easy to carry.
- Small plastic box – Offers durability and organization.
- Hard-shell case – Provides extra protection for contents.
- Waterproof pouch – Keeps supplies safe from moisture.
Look for containers with multiple compartments, clear visibility, and lightweight materials.
These features help you stay organized and prepared, making it quicker to find what you need when it matters most.
Labeling for Quick Identification
Choosing the right container is just the beginning; effective labeling can greatly enhance your first aid kit’s usability. Use clear, labeled containers or ziplock bags to categorize your supplies, ensuring quick identification during emergencies. Color-coded labels can help distinguish between items like adhesive bandages, ointments, and medications.
| Type | Example Items | Location |
|---|---|---|
| Bandages | Adhesive Bandages | Top Compartment |
| Antiseptics | Antiseptic Wipes | Middle Compartment |
| Medications | Pain Relievers | Bottom Compartment |
Attach a master inventory list to the inside lid, and update it regularly to maintain effectiveness.
Portable Travel Solutions
Having a well-organized first aid kit is essential for travel, especially when emergencies arise.
To guarantee quick access, consider these portable travel solutions:
- Compact, waterproof pouches to protect your supplies.
- A small, hard-shell case that fits in your backpack.
- Labeled compartments for easy identification of items.
- Multi-purpose supplies like adhesive bandages with antiseptic.
Maintenance and Regular Checks
To keep your first aid kit effective, check it at least twice a year for expired items and functionality.
Replace any expired supplies right away to avoid complications in an emergency.
Regularly reviewing your kit guarantees it meets your family’s evolving needs and stays ready for any situation.
Regular Inventory Check
While it’s easy to forget about your first aid kit once it’s packed, conducting regular inventory checks is essential for guaranteeing your supplies are ready when you need them.
Aim to check your kit at least twice a year. Here are four key steps to follow:
- Verify all supplies are present and in good condition.
- Check expiration dates on medications and supplies.
- Restock items used since your last inventory.
- Keep a checklist of essential items and their quantities.
Don’t forget to include health emergency phone numbers in your kit to guarantee you’re fully prepared for any situation!
Replace Expired Items
Every six months, take a moment to replace expired items in your first aid kit. Regular checks guarantee your supplies are effective when you need them most. Keep track of expiration dates and consider setting reminders to streamline maintenance. Immediately replace any used items after a first aid incident to keep your kit ready for emergencies.
| Item Type | Expiration Duration | Notes |
|---|---|---|
| Antiseptic Wipes | 1-3 years | Check regularly |
| Adhesive Bandages | 5 years | Replace if damaged |
| Pain Relievers | 1-3 years | Monitor closely |
Additional Resources for First Aid Guidance
Accessing reliable resources can greatly enhance your first aid knowledge and preparedness. Here are some valuable options to evaluate:
- American Red Cross First Aid App – It offers expert advice and step-by-step guidance for emergencies.
- Online Learning – Enroll in CPR and First Aid courses to master lifesaving techniques.
- Health Organizations – Refer to CDC and WHO for travel health advice and vaccination recommendations.
- Travel Health Forums – Gain insights from fellow travelers about health alerts and safety practices.