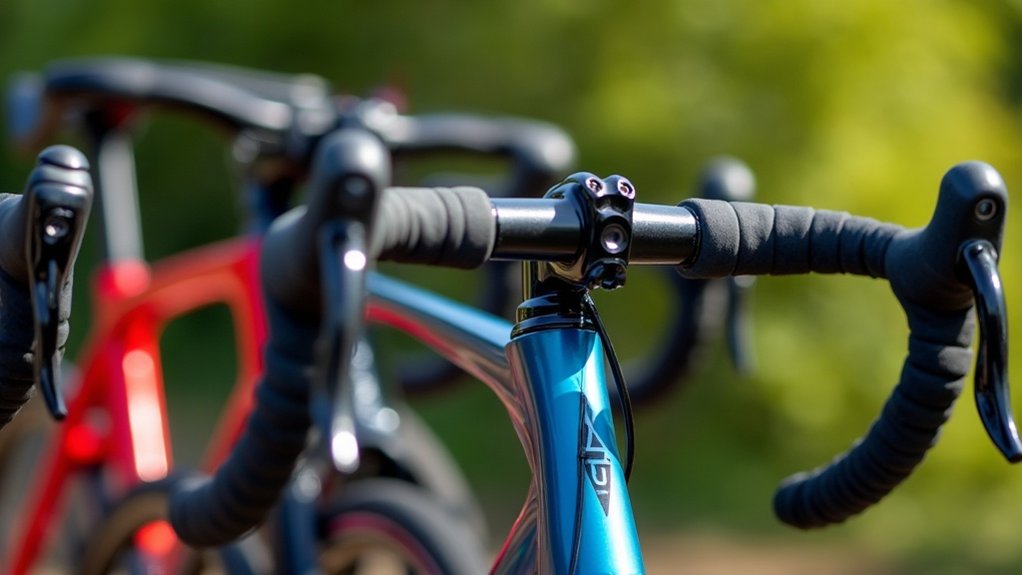
To mount a front child seat with proper clearance, first check that you have at least 22 cm between your stomach and the handlebar stem, and a minimum 40 mm gap between the headset top and stem. Install the seat based on whether you have a quill or threadless stem, guaranteeing the alignment with the front wheel for stability. Finally, perform safety checks to confirm tightness and correct positioning. Want to ascertain a secure fit? There’s more to explore.
Key Takeaways
- Ensure a minimum 22 cm clearance between the stomach and handlebar stem for comfortable riding.
- Confirm at least a 40 mm gap between the headset top and the front of the stem for proper installation.
- Align the child seat bracket with the front wheel for stability and safety during rides.
- Tighten all bolts securely, using a torque wrench to meet manufacturer’s specifications for safety.
- Regularly inspect for loose bolts and alignment changes before each ride to ensure continued safety.
Understanding the Front-Mounted Child Seat
When considering a front-mounted child seat, it’s vital to understand its specific requirements and limitations.
First, this child seat attaches either to a quill handlebar stem or four exterior tubes, so make sure you have adequate space for comfortable riding. Aim for at least 22 cm of clearance between your stomach and the handlebar stem for safety.
Also, it’s important to maintain a minimum 40 mm gap between the headset top and the front of the stem for proper installation.
Finally, align the seat with the front wheel to guarantee stability and safety while riding with your child.
Checking Your Bike for Compatibility
Before you install a front-mounted child seat, you need to verify your bike is compatible. Not all bikes are designed for this purpose, so check the following:
- Ascertain at least 22 cm of space between your stomach and the handlebar stem for comfort.
- Confirm a minimum 40 mm gap between the headset top and stem for installation.
- Check that the gap between the handlebar stem and front wheel is sufficient; less than 20 mm may hinder installation.
- Measure the diameter of your stem to choose the right shims.
- Avoid aerodynamic models, like road bikes, as they aren’t suitable for a front-mounted seat.
Installing the Child Seat on Quill Stems
Installing a front-mounted child seat on a quill stem requires careful attention to detail to confirm safety and stability. First, verify there’s at least a 40 mm gap between the headset top and the front of the stem. Measure the diameter of the quill stem to select the correct shims. Align the bracket with the front wheel and gradually tighten the bolts in sequence. After securely mounting the bracket, slide the child seat into place, confirming it’s fully engaged and stable.
| Step | Action | Notes |
|---|---|---|
| 1 | Measure Gap | ≥ 40 mm |
| 2 | Select Shims | Correct diameter |
| 3 | Align Bracket | With front wheel |
| 4 | Tighten Bolts | Even pressure |
Installing the Child Seat on Threadless Stems
To successfully install a front child seat on a threadless stem, you’ll need to start by measuring the gap between the headset and the top of the stem; if it’s less than 20 mm, you may not be able to proceed safely.
Start by measuring the gap between the headset and stem; a gap under 20 mm may pose safety risks for your child seat installation.
- Remove the handlebar stem and unnecessary spacers.
- Identify the top and front of the bracket for correct placement.
- Clamp the bracket around the steer tube securely.
- Gradually tighten the bolts, checking alignment with the front wheel.
- Confirm no play in the headset and that all bolts are tightened for safety.
Your child’s safety depends on it!
Ensuring Proper Alignment
To guarantee proper alignment, start by checking that the child seat bracket aligns perfectly with the front wheel.
This positioning is critical for stability and safety, so take your time to adjust it accurately.
Once aligned, you can proceed with tightening the bolts, but remember to do so gradually and in a sequence to maintain even pressure.
Wheel Alignment Check
Before you secure the front child seat, it’s essential to check the wheel alignment to verify a safe and stable ride.
Here are key steps to follow:
- Measure the gap: Ensure at least 40 mm clearance for quill stems or over 20 mm for threadless stems.
- Check for play: A tight headset allows for smooth steering.
- Tighten bolts gradually: This maintains even pressure and alignment.
- Align the bracket: Make sure it’s in line with the front wheel.
- Reassess alignment: After installation, check again to verify safety while riding with your child.
Bracket Positioning Accuracy
Accurate bracket positioning is essential for guaranteeing your child seat is securely mounted and aligned with the front wheel.
Start by visually checking the bracket’s straightness before tightening any bolts. For quill stems, maintain a 40 mm gap between the headset top and the front of the stem. If you’re using threadless stems, verify the gap is at least 20 mm—remove unnecessary spacers if needed.
Identify the top and front of the bracket correctly, as misalignment can occur with incorrect orientation.
Finally, double-check alignment with the front wheel to eliminate any play, enhancing safety and stability for your child.
Safety Checks After Installation
After mounting the front child seat, it’s essential to conduct thorough safety checks to confirm everything is secure and properly aligned.
Here’s what you need to do:
- Check for at least a 40 mm gap between the headset top and front stem.
- Gently shake the handlebars to verify there’s no play in the headset.
- Use a torque wrench to tighten bolts to the manufacturer’s recommended settings.
- Confirm the child seat is aligned with the front wheel before final tightening.
- Regularly inspect for loose bolts or alignment changes, especially before rides.
These steps help confirm your child’s safety and comfort.
Making Necessary Adjustments
Once you’ve secured the front child seat, it’s crucial to make the necessary adjustments to guarantee a safe and comfortable fit.
For quill stems, verify there’s at least a 40 mm gap between the headset’s top and the front of the stem. If you’re using threadless stems, maintain a gap of over 20 mm.
Align the bracket with the front wheel for stability, and use a torque wrench to tighten bolts to the manufacturer’s specifications, preventing any play in the headset.
Be prepared to tweak adjustments based on your bike model, confirming the child seat is secure and comfortable for every ride.
Community Feedback and Support
Engaging with the cycling community can greatly enhance your experience when mounting a front child seat.
By sharing your installation experiences, you’ll find valuable insights and tips from others.
Here’s how you can foster a supportive environment:
- Leave feedback in the comments for questions and assistance.
- Subscribe, like, and share content to support creators.
- Explore membership options for exclusive guides and personalized help.
- Express gratitude to fellow members to encourage collaboration.
- Participate in discussions to enrich the learning experience.