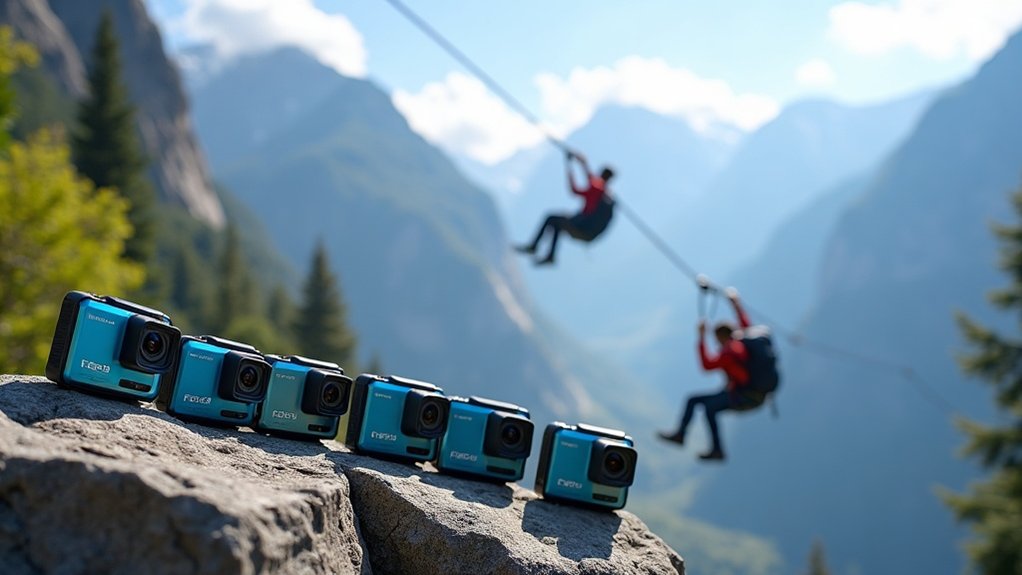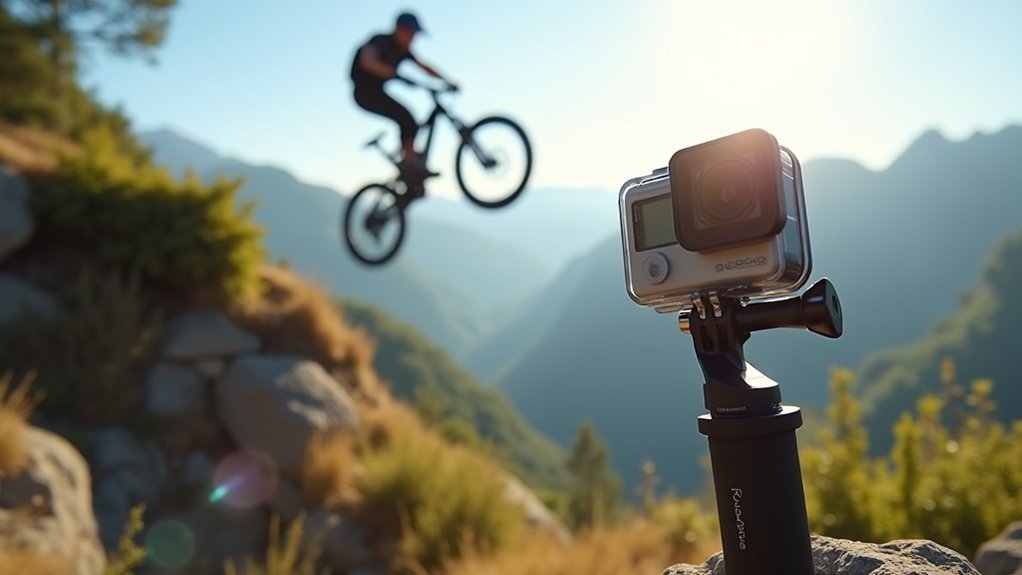
To mount action cameras for stability, choose a chest mount for a steady first-person perspective. Look for strong materials with a large base plate that absorbs shock and non-slip straps for secure attachment. Use adjustable ball joints to get the perfect angle, tilting the camera upward to capture handlebars and trails. Mark your angles for consistency and make quick adjustments during test rides. There’s plenty more to explore to enhance your filming experience.
Key Takeaways
- Use a chest mount for a stable first-person perspective that showcases handlebars and trails during action activities.
- Ensure the mount features a large base plate made of shock-absorbing elastomer to minimize vibrations.
- Secure the camera with non-slip straps to prevent shifts while filming, especially on uneven terrain.
- Utilize adjustable ball joints for precise camera positioning, allowing for optimal angles during shoots.
- Test camera angles during practice runs to fine-tune positioning for high-quality footage and immersive experiences.
Choosing the Right Mount for Action Cameras
When it comes to choosing the right mount for your action camera, there are several key factors to ponder.
You’ll want a camera mount that guarantees stability during your adventures. The chest mount is a popular choice, offering a first-person perspective and effectively capturing trails while hiking or skiing.
Look for mounts compatible with your action cameras, like those for GoPro or DJI Osmo, to assure a secure fit.
Don’t forget to take into account durability; high-quality materials can withstand outdoor conditions.
Finally, adjustable angles, such as a ball joint system, let you position your camera perfectly for every shot.
Essential Features for Stability
Choosing the right mount is just the beginning; understanding the features that enhance stability is key to capturing smooth, high-quality footage.
Look for a mount with a large base plate made of shock-absorbing elastomer to reduce vibrations. Non-slip straps help secure your camera mount to surfaces, preventing any shifts during activities like hiking or biking.
Choose a mount with a shock-absorbing base plate and non-slip straps for stable, vibration-free filming during outdoor adventures.
A ball joint allows for precise positioning, ensuring ideal angles and minimizing shaky footage. High-quality materials, such as stainless steel fasteners and strong elastic, boost durability.
Finally, adapting mounts to fit different body types can enhance stability for dynamic action shots.
Techniques for Secure Attachment
To guarantee your action camera stays secure during your adventures, it’s essential to master various attachment techniques. Use non-slip straps for secure attachment to backpack straps, accommodating widths up to 2.5 inches for stability.
Opt for high-quality mounts with adjustable ball joints to position your camera precisely in any direction. When using chest mounts, tilt the camera upward to frame handlebars and trails effectively.
Employ durable materials like shock-absorbing elastomers and stainless steel fasteners to reduce vibrations.
Finally, perform test rides and make quick adjustments to guarantee your camera captures high-quality footage without unwanted shaking.
Adjusting Camera Angles for Optimal Footage
Adjusting your camera angles can greatly enhance the quality of your footage, especially during high-energy activities.
Use adjustable mounts, like the STUNTMAN Pack Mount, for precise camera positioning. When you mount on a chest strap, angle the camera slightly upward to capture both handlebars and the trail ahead.
Utilize adjustable mounts for optimal camera placement, angling slightly upward on chest straps to capture the action ahead.
Mark consistent angles with a silver Sharpie to guarantee repeatable positioning during test rides. Don’t hesitate to experiment with different locations, like a chin mount on full-face helmets, for side views.
Fine-tune your camera’s tilt and position during test rides to create engaging, immersive video content that captures every thrilling moment.
User Experiences and Recommendations
While many riders experiment with different mounts, user experiences highlight the chest mount as a top choice for capturing steady point-of-view footage. It effectively showcases handlebars and the trail, ensuring stability and comfort.
Additionally, consider these recommendations:
- Use the STUNTMAN Pack Mount for its large base plate and adjustable angles, perfect for backpack straps.
- Mark camera angles with a silver Sharpie to maintain consistency in your setup.
- To reduce wind noise, attach a dead cat to your action cam, keeping your audio clear and engaging for viewers.
These tips will enhance your filming experience!