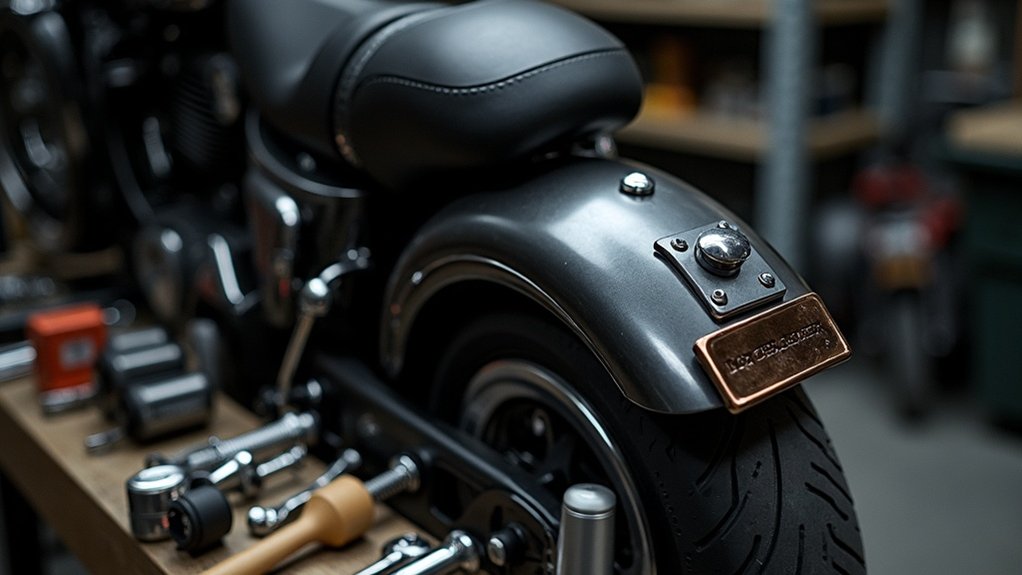
To install fenders without rattles, start by choosing fenders at least 10mm wider than your tires for clearance. Guarantee proper mounting by using large rubber or leather washers at contact points and securing stays directly to the fenders and eyelets. Align stays properly and check that the fender arc fits snugly against the frame. Regularly maintain tightness and inspect for wear. For further insights on ideal techniques, tips, and community practices, keep exploring!
Key Takeaways
- Use large leather or rubber washers at all contact points to absorb vibrations and minimize rattling.
- Ensure fender stays are properly aligned and secured to prevent any movement during rides.
- Keep the fender arc snug against the frame to avoid unnecessary gaps that can cause noise.
- Regularly check the tightness of all fender mounts and stays to maintain stability and prevent rattling.
- Install rubber patches where fenders contact the frame to dampen vibrations and reduce noise.
Choosing the Right Fenders for Your Bike
When you’re selecting fenders for your bike, it’s essential to guarantee they fit your tires properly and meet your riding needs. Make sure your fenders are at least 10mm wider than the widest tire to prevent rubbing.
For ideal protection against water and debris, consider full coverage fenders like SKS Chromoplastics, especially in wet conditions.
Pay attention to fender mounting compatibility with your bike’s frame and fork design; some models may need specific mounting options.
Select fenders based on usage—SKS Longboard fenders are great for commuting—while considering tire size and clearance to guarantee functionality and fit.
Assessing Frame and Fork Compatibility
Evaluating frame and fork compatibility is essential for a successful fender installation, as improper fit can lead to performance issues and even damage.
- Inspect for existing mounting points, like eyelets on rear dropouts or brake bridges.
- Verify the fender width exceeds your tire size by at least 10mm for maximum clearance.
- Consider the frame material; classic steel frames usually offer more mounting options than aluminum or carbon.
- Assess the fork type; suspension forks may require unique mounting techniques to maintain functionality.
Essential Mounting Techniques
To guarantee a secure and quiet fender installation, focus on robust attachment points and noise dampening techniques.
Use large leather or rubber washers at all contact points to absorb vibrations, and check that stays are properly aligned and secured to prevent movement.
Regular maintenance of these components is essential; loose parts can lead to unwanted rattling during your rides.
Secure Attachment Points
While installing fenders, securing attachment points is essential for minimizing vibrations and preventing rattles. Follow these techniques for ideal results:
- Use large leather or rubber washers at frame contact points.
- Mount fender stays directly to the fender and dropout eyelets.
- Utilize two draw bolts per stay for added stability.
- Pre-adjust the fender arc to guarantee proper alignment.
Regularly inspect and tighten all mounting points, as loose connections can lead to rattling during rides.
Noise Dampening Materials
After securing attachment points, incorporating noise dampening materials is essential for further reducing rattling.
Use closed cell foam tape between the metal fenders and the frame to absorb vibrations effectively. Additionally, place large leather or rubber washers at all contact points where the fenders attach, as these materials help absorb shocks and minimize noise.
To secure fender stays, utilize cable clamps or zip ties, preventing movement that typically causes rattling. Finally, check and tighten all mounting bolts regularly to maintain stability.
Avoid drilling holes in fenders; instead, consider patch kits to stabilize any loose areas and reduce noise.
Proper Alignment Techniques
Proper alignment of fenders is essential for preventing rattling and guaranteeing a smooth ride. Follow these techniques for ideal installation:
- Optimize the fender arc to prevent stays from touching the fender edges.
- Use leather washers only at frame contact points, avoiding stays.
- Pre-bend fender stays outward at the connection for space.
- Securely attach stays with two draw bolts each for stability.
Regularly check for misalignment and tightness at all mounting holes post-installation. This guarantees your fenders remain securely in place, free of noise, and enhances your riding experience.
Proper alignment is key to a trouble-free ride.
Tips for Minimizing Rattling
To minimize rattling, you should focus on secure mounting techniques, use appropriate dampening materials, and perform regular maintenance checks.
Implementing leather or rubber washers at contact points greatly reduces vibrations.
Additionally, routinely inspect all components to verify they remain tight and properly aligned, as loose parts can lead to unwanted noise during rides.
Secure Mounting Techniques
Securely mounting fenders is essential for minimizing rattling during rides. To achieve this, follow these techniques:
- Use leather washers at all frame contact points to dampen vibrations.
- Mount stays directly to the fender and dropout eyelets without extra washers for a secure fit.
- Bend stays outward at the fender to avoid edge contact; make certain stay ends are perpendicular to eyelets.
- Regularly check and tighten all mounting points, utilizing two draw bolts per stay for enhanced stability.
Implementing these strategies will keep your fenders securely attached and considerably reduce noise while riding.
Use Dampening Materials
While installing fenders, incorporating dampening materials is essential for minimizing rattling and enhancing your ride quality.
Use large leather or rubber washers at all contact points between the fenders and your bike frame to effectively dampen vibrations.
Applying thin closed cell foam tape along the fender edges creates a cushion that absorbs shocks and prevents noise.
Consider using curved washers to firmly clamp down on fender stays, reducing movement.
Additionally, utilize patches from a repair kit to cover contact areas, adding another layer of sound dampening.
Finally, regularly check and adjust all mounting points to maintain security and avoid rattling.
Regular Maintenance Checks
Regular maintenance checks are essential for keeping your fenders secure and minimizing rattling during rides.
By regularly inspecting your setup, you can guarantee peak performance. Here are key areas to focus on:
- Check the tightness of all fender mounts and stays.
- Use leather or rubber washers at frame contact points.
- Look for misalignments and adjust fenders to align with the tire.
- Inspect fender edges and stays for wear or bending.
Utilizing Rubber and Leather Washers
To effectively minimize rattling during rides, you should utilize large rubber or leather washers at all frame contact points.
Utilize large rubber or leather washers at frame contact points to effectively minimize rattling during rides.
Place these washers between the fender and the frame or fork to prevent direct contact that generates noise and wear. However, avoid using washers on the fender stays that connect to the fender or dropout eyelets to guarantee secure attachment.
Consider curved washers as they better distribute pressure and minimize movement, further reducing rattling.
Regularly inspect and replace worn washers to maintain peak fender performance and noise reduction over time, providing a quieter and more enjoyable ride.
Regular Maintenance Checks for Stability
Ensuring your fenders remain stable and quiet requires routine maintenance checks that focus on all attachment points.
Regular maintenance is essential for preventing rattles and ensuring a smooth ride.
- Inspect the tightness of fender stays and mounting bolts.
- Check for wear on rubber patches or washers to dampen vibrations.
- Review fender alignment and clearance to avoid tire contact.
- Examine mounting hardware for rust or corrosion and replace compromised parts.
Conduct a thorough test ride after any maintenance to confirm that everything’s secure.
These steps will help maintain the integrity and performance of your fenders.
Creative Solutions for Missing Eyelets
If your bike doesn’t come equipped with eyelets for fender mounting, don’t worry; there are several effective alternatives you can implement.
Use zipties or hose clamps to secure fender stays directly to the frame, providing a flexible solution. Alternatively, fashion drilled aluminum plates into improvised brackets for a more secure fit.
Cable clamps can also anchor fender stays, guaranteeing stability and minimizing rattling. To further reduce noise, place rubber patches between the attachment points and the frame, protecting your paint from vibrations.
Regularly check your DIY mounts for integrity to guarantee a smooth, rattle-free ride.
Community Insights and Best Practices
While fender installation can seem straightforward, community insights reveal several best practices that optimize performance and minimize rattling.
- Optimize the fender arc before securing stays to guarantee a snug fit.
- Use leather washers at all frame contact points to dampen vibrations.
- Verify stays mount directly to the fender and dropout eyelets without obstructions.
- Bend stays outward at the fender to prevent edge contact, a common rattling issue.
Regularly check the tightness of all components post-installation to maintain fender integrity and reduce noise over time.
These strategies will help you enjoy a quieter ride.