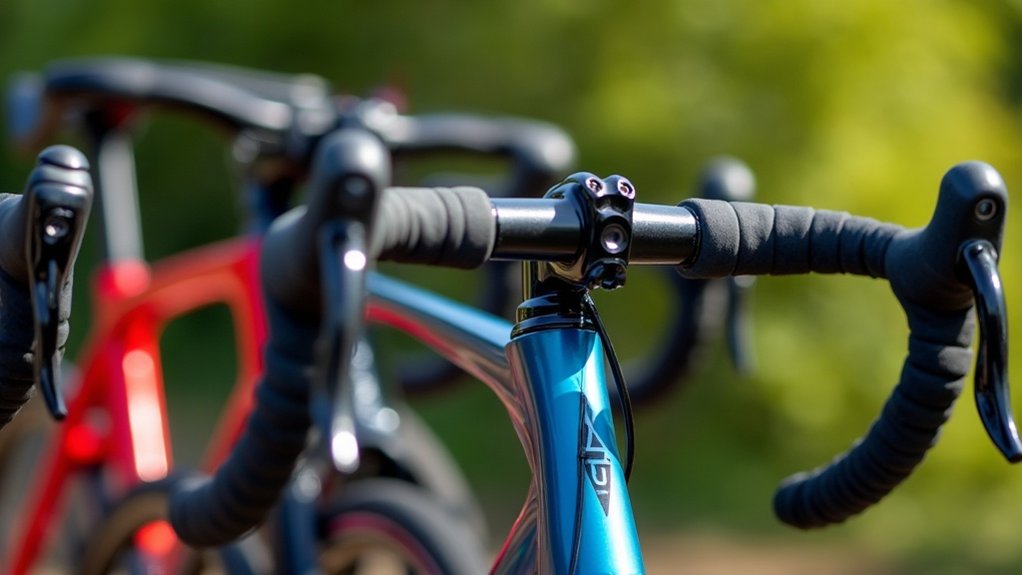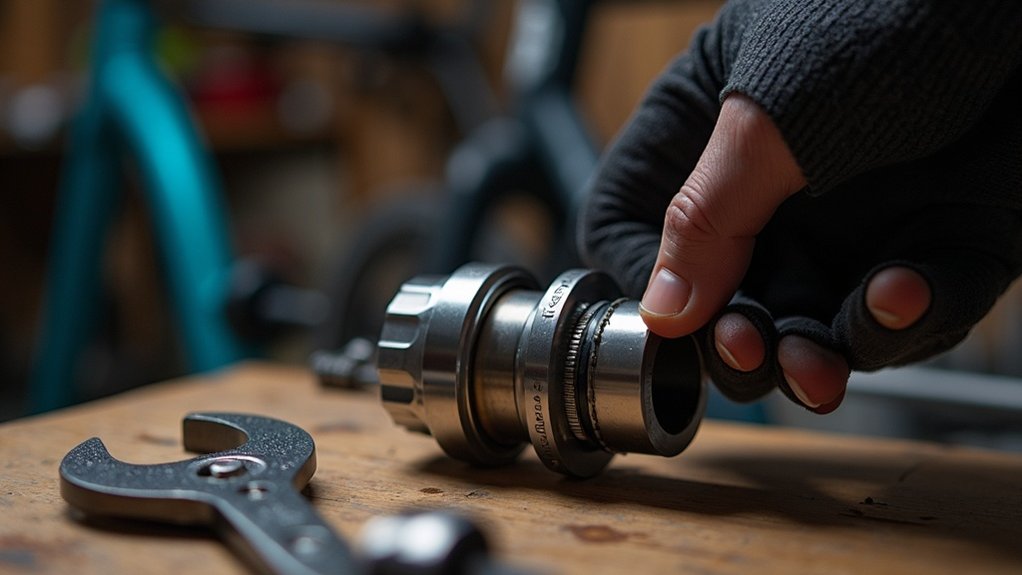
To confirm your headset preload is correct, first, apply the front brake and rock the bike back and forth to detect any knocking sounds. Next, turn the handlebars 90 degrees and repeat to isolate movement. Lift the front wheel to guarantee it rotates freely. If you notice play, tighten the preload bolt slightly, then recheck for play after each adjustment. Proper preload guarantees smooth steering. Continue to explore other maintenance tips for peak bike performance.
Key Takeaways
- Apply the front brake and rock the bike back and forth to check for knocking sounds indicating headset play.
- Turn the handlebars 90 degrees and repeat the rocking motion to isolate headset movement.
- Lift the front wheel off the ground to ensure it rotates freely without resistance.
- After adjusting preload, repeat the rocking and turning tests to confirm the headset is stable.
- Ensure steerer clamp bolts are retightened to specifications after making adjustments to maintain proper tension.
Understanding Headset Preload
Understanding headset preload is essential for ensuring your bike’s steering remains smooth and responsive. Proper headset preload applies adequate tension to the bearings, eliminating a loose headset and preventing play.
When adjusted correctly, your handlebars should turn freely without binding. If the preload’s too tight, it can hinder steering movement; if it’s too loose, you risk knocking and potential frame damage.
To achieve the right adjustment, turn the preload bolt in the top cap clockwise to increase tension or counterclockwise to decrease it.
Regularly check your headset preload after significant use to maintain peak performance and extend headset lifespan.
Tools Needed for Adjustment
To confirm the correct headset preload, you’ll need a few essential tools.
Start with a 4mm or 5mm Allen key to adjust the preload bolt located under the top cap. A torque wrench is important for accurately tightening the stem bolts to the manufacturer’s specified settings after making adjustments.
Additionally, keep a 6mm Allen key handy, as it may be required for certain headset components or stem bolts.
Before you begin, verify the sizes of the tools with a local bike shop to avoid damage. Having all necessary tools ready streamlines the headset adjustment process.
Checking for Headset Play
To check for headset play, start by applying the front brake and rocking the bike back and forth; any knocking sound means the headset’s loose.
Next, turn the handlebars 90 degrees and repeat the motion to isolate the movement.
Finally, lift the front wheel off the ground and verify the handlebars turn freely to rule out excessive tightness.
Rocking the Bike
While checking headset preload, rocking the bike back and forth is a straightforward method to identify any play in the headset. Engage the front brake and apply gentle pressure to the handlebars, watching for any knocking or movement in the steering column.
If you detect no play, your headset preload is likely properly adjusted, ensuring smooth steering. To further confirm stability, you can turn the handlebars 90 degrees during the test.
Remember to lift the front wheel occasionally to verify that it rotates freely, indicating the headset isn’t overly tight. Repeat this rocking test after any adjustments to confirm correctness.
Turning Handlebars
After confirming the absence of play by rocking the bike, checking the handlebars provides another layer of assurance regarding headset preload.
First, apply the front brake and turn the handlebars 90 degrees. Rock the bike back and forth to isolate any movement, ensuring there’s no play in the headset bearings. A properly adjusted headset allows for smooth steering without resistance.
If you feel play in the brake or any knocking, it indicates the headset is too loose. In that case, tighten the adjustment, then re-check for knocking or play to confirm the headset is tuned for safe riding.
Lifting Front Wheel
Lifting the front wheel is an essential step in confirming headset preload. With the front wheel off the ground, check if the handlebars turn freely without binding or resistance. If they rotate smoothly, your preload is likely set correctly.
A properly adjusted headset allows the front wheel to move without knocking or play when turning the handlebars. If you feel excessive tightness while lifting the front wheel, you may need to adjust the headset preload counterclockwise to reduce tension.
Finally, apply the front brake and rock the bike back and forth to recheck for any headset play.
Adjusting the Headset Preload
To adjust the headset preload, start by checking for any signs of looseness, such as knocking sounds or excessive play.
If necessary, tighten the preload bolt to eliminate play, but be cautious not to over-tighten it, as this can hinder smooth steering.
Finally, conduct a final alignment check to verify the headset is properly adjusted and secure.
Identifying Loose Headset Signs
How can you tell if your headset is loose? Start by applying the front brake and rocking the bike back and forth. If you feel any knocking or play in the headset bearings, it’s a sign that adjustments are needed.
You should also check if the handlebars turn freely without resistance; this can indicate the headset’s too loose. A properly adjusted headset won’t show noticeable movement during this test.
If you experience a notchy feel while turning the handlebars, that’s another red flag. After adjusting the headset preload, repeat the rocking test to ascertain security.
Adjusting for Tightness
Before making adjustments, make sure you’ve loosened the stem steerer clamp bolts slightly to prevent binding. To adjust the headset preload, turn the headset preload bolt counterclockwise to reduce tightness. Make small adjustments, then rock the bike forward while engaging the front brake to check for play. A properly adjusted headset allows smooth steering without knocking or stiffness.
| Adjustment Action | Desired Outcome | Notes |
|---|---|---|
| Loosen stem bolts | Prevent binding | Essential for smooth adjustments |
| Adjust preload bolt | Reduce tightness | Make small, incremental changes |
| Test for play | guarantee proper function | Engage front brake while testing |
After adjustments, retighten the steerer clamp bolts to spec.
Final Alignment Checks
After ensuring the headset preload is correctly set, it’s important to perform final alignment checks to guarantee ideal steering performance.
Follow these steps:
- Align the stem with the tire centerline, using a floor mat edge if needed.
- Retighten the steerer clamp bolts to the manufacturer’s torque specifications.
- Test for play by applying the front brake and rocking the bike; any knocking indicates adjustment is needed.
Finally, lift the front wheel and turn the handlebars. They should rotate freely, confirming the headset isn’t too tight.
If you notice any play or stiffness, reassess adjustments before your test ride.
Common Issues With Headset Adjustment
While adjusting your headset, you might encounter several common issues that can affect performance and safety. Achieving proper preload is essential; too much torque can signal underlying problems.
If you notice play during rocking tests while braking, it may indicate real bearing play needing attention. Misinterpreting knocking sounds can confuse the source of the issue, often stemming from incorrectly set play.
If you find yourself using excessive torque to eliminate play, consider that micro shims or replacement parts might be necessary. Regularly inspect the headset bearings and alignment to prevent handling issues and guarantee the best bike safety.
Importance of Regular Maintenance
Regular maintenance of your bike’s headset is essential for ensuring both performance and safety.
By regularly checking your headset, you can prevent potential issues that compromise your ride. Here are three key benefits of regular maintenance:
- Prolongs headset bearing lifespan: Inspecting bearings after significant mileage helps maintain smooth steering performance.
- Detects loose components: Early identification of misalignments or wear prevents further damage.
- Enhances bike longevity: Consistent maintenance contributes to the overall health of your bike, ensuring it lasts longer.
Stay proactive to enjoy a safer, better-performing ride, and make your maintenance routine a priority.
Seeking Professional Help
When you’re unsure about adjusting your headset preload, seeking professional help can be a wise choice. A local bike shop can provide expert guidance, ensuring your safety during rides.
Professional mechanics accurately diagnose headset issues and make necessary adjustments without risking damage to your bike. Many shops offer inspection services to check for headset play, stiffness, and overall condition, helping you avoid potential hazards.
They can also recommend specific torque specifications for your headset type, ensuring adjustments align with manufacturer guidelines. Engaging with an experienced mechanic can enhance your maintenance knowledge, contributing to your headset’s longevity and effective operation.