To clean your bearings after submersion, start by removing them from the wheels and gently take off the shields. Use a suitable cleaning solution, like rubbing alcohol, to wash the bearings thoroughly in a container. Once they’re clean, dry them completely to prevent corrosion and then apply two drops of high-quality lubricant. Spin the bearings to guarantee even distribution. If you’re facing issues with seizing or need to repack, there’s more you should know.
Key Takeaways
- Remove all bearings from the wheels and ensure they are oriented correctly for easy reinstallation later.
- Use a bearing tool to extract and handle bearings gently, avoiding damage during removal.
- Submerge bearings in a cleaning solution like rubbing alcohol to eliminate dirt and residue.
- After washing, dry bearings thoroughly with a towel or rag to prevent corrosion.
- Apply a few drops of lubricant and spin bearings to evenly distribute the oil for optimal performance.
What You’ll Need
To effectively clean your bearings after they’ve been submerged, you’ll need a few essential tools and supplies.
Start with a skate tool for removal and a bearing tool for extraction. A container with a lid is vital for the cleaning process.
For your cleaning solution, use rubbing alcohol (90% ABV or higher) to make sure it evaporates without residue.
After washing, a towel, rag, or old t-shirt will be necessary for drying the bearings thoroughly.
Don’t forget to have bearing lubricant ready for application after the drying process; this guarantees your bearings operate smoothly once they’re completely dry.
Step #1: Remove Your Bearings
Removing your bearings is the first vital step after they’ve been submerged. Start by removing all eight wheels from your skates to access the bearings.
Carefully extract all sixteen bearings from the wheels, applying force only on the metal races to avoid damage. A bearing tool can simplify this process and prevent harm during removal.
Make sure to keep track of the orientation and placement of each bearing, as this will be essential for reinstallation. Handle the bearings gently to avoid bending or breaking components, particularly the shields and cages, which can be sensitive to force during extraction.
Step #2: Prepare Bearings for Wash
Before you start washing your bearings, identify whether they’ve rubber or alloy shields, as this will dictate how you proceed.
Use a safety pin or thumb tack to gently remove the shields or C-clips, ensuring not to damage the bearings in the process.
Wipe the shields clean and set them aside for reinstallation, while keeping the cages intact to simplify reassembly.
Shield Types Overview
How do you guarantee your bearings are ready for a thorough wash? Understanding the shield types is vital. Bearings typically feature rubber shields or alloy shields. Rubber shields are flexible, allowing easy removal for cleaning, while alloy shields are rigid and require careful handling. Use a safety pin or thumb tack to gently pry them off without damaging the bearing. It’s essential to wipe the shields free of debris before setting them aside for reinstallation.
| Shield Type | Flexibility | Removal Ease |
|---|---|---|
| Rubber Shields | High | Easy |
| Alloy Shields | Low | Moderate |
Cleaning Preparation Steps
With the shields properly identified and cleaned, you’re ready to prepare your bearings for washing. The first thing you’ll do is guarantee you handle the components carefully.
Follow these cleaning preparation steps:
- Use a safety pin or thumb tack to pry off the shields or C-clips.
- Avoid damaging any bearing components during removal.
- Wipe the shields free of debris before setting them aside.
- Don’t remove the cages holding the balls; they can complicate reassembly.
- Confirm the shields are intact, guaranteeing the bearings’ integrity during the wash process.
Rights Reserved for quality maintenance are essential in this step.
Step #3: Prepare the Wash
To effectively prepare the wash for cleaning your bearings, start by selecting a suitable cleaning solution that leaves no residue; rubbing alcohol with a concentration of 90% ABV or higher is a popular choice due to its effectiveness.
Next, choose a container that’s large enough to hold all bearings while allowing for agitation. Pour enough cleaning solution into the container to completely submerge the bearings, ensuring they’re thoroughly cleaned in one time.
If you have a Bearing Cleaner Kit, use it for convenience, as these containers often include features to facilitate agitation. Secure the lid to prevent spills while washing.
Step #4: Wash the Bearings
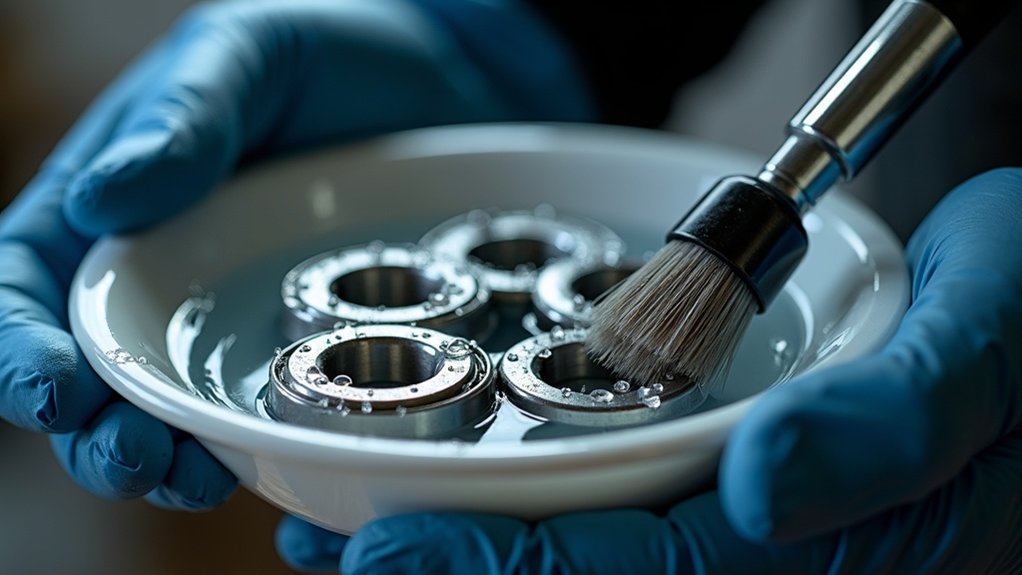
Begin the washing process by placing the extracted bearings into the container filled with your chosen cleaning solution, making certain they’re fully submerged.
Secure the lid and agitate the container for about 30 seconds, allowing the solution to dislodge dirt and grime from the bearings.
After agitation, let the bearings sit undisturbed for 3-5 minutes, allowing sediment to settle at the bottom.
- Use a suitable cleaning solution (like mineral spirits)
- Ensure complete submersion of bearings
- Agitate for thorough cleaning
- Let sediment settle before removal
- Prepare a clean area for drying and lubricating
Step #5: Dry and Lubricate the Bearings
After washing, it’s essential to dry the bearings thoroughly before applying lubricant to prevent moisture from causing corrosion.
You can use rubbing alcohol, which evaporates quickly and leaves no residue, making it ideal for this task. If needed, utilize a blow dryer on a low setting to hasten the drying process, but avoid overheating the bearings.
Once dry, apply two drops of high-quality bearing lubricant to each bearing, then spin them to guarantee even distribution throughout the races and balls.
Finally, inspect each bearing to confirm it spins freely and smoothly, indicating successful cleaning and lubrication.
Unseizing the Bearing
Unseizing a bearing can often be a straightforward process if you follow the right steps. Start by identifying the inner and outer races, then pinch the inner race while attempting to move the outer race to check for seizing.
Unseizing a bearing is simple with the right approach; identify the races and test for movement.
- Apply a penetrating spray lubricant to soak into rusted areas.
- Gently work the outer race back and forth to free the bearing.
- Monitor progress until it spins freely.
- Use an air compressor to blow out debris while applying more lubricant.
- Confirm the bearing’s condition before proceeding to repack with grease.
Repacking the Bearing
Once you’ve confirmed the bearing is clean and free from rust, it’s time to repack it with grease to guarantee peak performance.
Apply a suitable grease, like wheel bearing grease, using the “palming” technique to assure thorough distribution. As you apply the grease, rotate the bearing to coat all internal components evenly.
After greasing, carefully reinsert the seals, ensuring they snap back into place without damage.
Finally, confirm the bearing spins freely and feels smooth, indicating proper repacking.
Store the repacked bearing in a clean, dry environment to prevent future corrosion or seizing, assuring longevity and reliability.