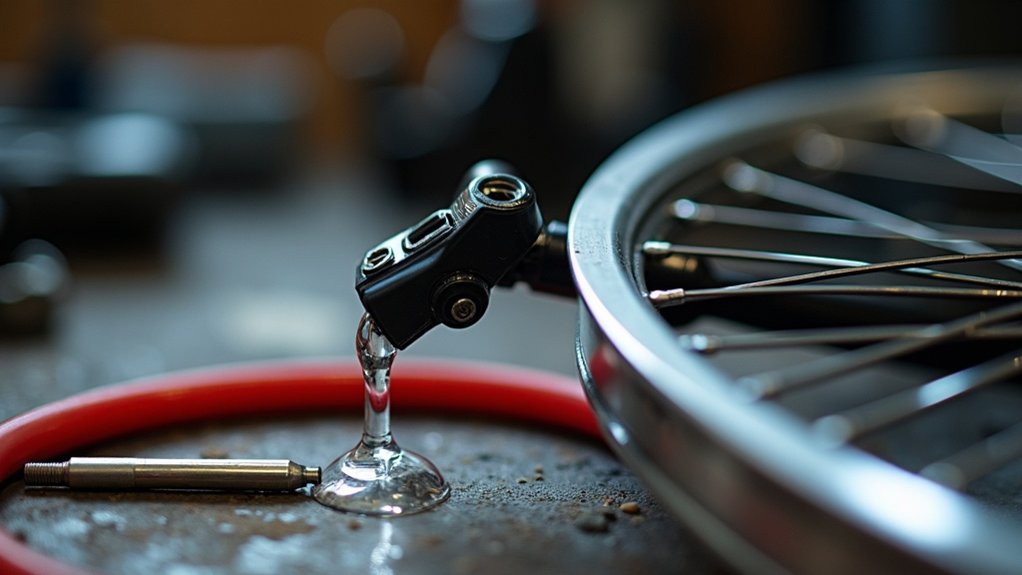
To bleed bike hydraulic brakes at home, gather your tools, including a Shimano bleeding kit and hydraulic mineral oil. Elevate the brake lever, remove the bolt, and connect the bleed pump. Open the caliper valve to drain old fluid, then fill and pressurize the syringe. Watch for air bubbles, tightening the valve once fluid flows smoothly. Always check brake performance afterward. Continue on to discover detailed steps for fluid replacement and finalizing the bleed efficiently.
Key Takeaways
- Gather necessary tools such as Allen keys, a Shimano bleeding kit, and hydraulic mineral oil before starting the bleeding process.
- Elevate the brake lever, remove the small Allen key bolt, and attach the Shimano bleed pump for fluid evacuation.
- Open the caliper valve with a 3mm Allen key and use a syringe filled with mineral oil to push old fluid out.
- Monitor for air bubbles during the process and flick the brake cable to release trapped air, ensuring the system is free of air.
- After bleeding, inspect brake performance and recheck fluid levels to maintain optimal braking functionality.
Purpose of Bleeding Brakes
Bleeding your bike’s hydraulic brakes is essential, especially if you’ve noticed a spongy lever feel or decreased braking power. This process removes trapped air from the braking system, which compromises efficiency and safety.
Bleeding hydraulic brakes is crucial for optimal performance and safety, especially if your lever feels spongy or braking power is reduced.
When air bubbles infiltrate the fluid, they create inconsistencies in pressure, leading to unreliable braking performance. Regular maintenance, including bleeding, guarantees your brakes function at their best, reducing the risk of accidents.
If you’re unfamiliar with the bleeding process, consider seeking professional help; improper handling can exacerbate issues.
Finally, maintaining clean components and work areas prevents contamination of brake fluid, ensuring your braking system operates effectively.
Required Tools and Preparation
To successfully bleed your bike’s hydraulic brakes, you’ll need to gather essential tools and prepare your workspace meticulously. Verify you have the following items ready:
| Tool | Purpose | Notes |
|---|---|---|
| Allen Keys | To remove brake components | Sizes depend on your bike |
| Shimano Bleeding Kit | For the bleeding process | Includes syringes and hoses |
| Hydraulic Mineral Oil | To refill the brake system | Use Shimano-specific oil |
Set up a clean work area to avoid contamination, position the bleed point low, and adjust the brake lever for better access during the procedure.
Bleeding Process Overview
With your tools and workspace prepared, you’re ready to begin the bleeding process for your bike’s hydraulic brakes.
Prepare your tools and workspace to start the bleeding process for your bike’s hydraulic brakes.
Start by loosening the brake lever and elevating it to a level position for better access. Remove the small Allen key bolt from the lever, keeping the O ring safe for reassembly.
Lightly screw the Shimano bleed pump into the lever by hand. Next, remove the dust cap from the caliper to access the valve.
Apply gentle pressure to the syringe, pumping fluid through while observing for old fluid in the reservoir. Flick the cable to dislodge any trapped air bubbles.
Fluid Replacement Steps
To start the fluid replacement, use a 3mm Allen key to open the caliper valve, which allows the old fluid to flow out.
Next, fill your bleed syringe with Shimano hydraulic mineral oil, ensuring no air bubbles are present before connecting it to the system.
As you gently apply pressure to the syringe, keep an eye on the old fluid exiting into the brake lever reservoir and flick the brake cable to release any trapped air bubbles.
Caliper Valve Access
Accessing the caliper valve for fluid replacement involves a few precise steps. Follow these guidelines to guarantee a successful process:
- Use a 3mm Allen key to carefully undo the caliper valve.
- Connect the bleed syringe filled with Shimano hydraulic mineral oil to the caliper valve.
- Apply gentle pressure to the syringe, pumping new fluid through the system while monitoring the brake lever reservoir for old fluid evacuation.
- Flick the hydraulic line gently to dislodge trapped air bubbles.
- Once the reservoir is nearly full, securely tighten the caliper valve to prevent leaks before moving to the next steps.
Syringe Fluid Application
Begin the fluid replacement process by confirming your bleed syringe is filled with Shimano hydraulic mineral oil.
Next, use a 3mm Allen key to undo the valve on the caliper, granting access to the hydraulic system.
Apply gentle pressure on the syringe to pump the new fluid through, observing the old fluid flow into the reservoir on the brake lever.
Lightly flick the brake line to help dislodge any trapped air bubbles.
When the reservoir nears full, tighten the caliper valve securely to prevent leaks and verify a proper seal, completing this critical step in your brake maintenance.
Air Bubble Removal
Once you’ve loosened the valve on the caliper with a 3mm Allen key, it’s time to focus on removing air bubbles trapped in the hydraulic system.
Follow these steps:
- Use a bleed syringe filled with Shimano hydraulic mineral oil.
- Gently apply pressure to push fluid through the brake line.
- Monitor the reservoir for emerging fluid; verify it’s bubble-free.
- Flick the brake cable to dislodge stubborn air bubbles.
- Once nearly full, promptly tighten the valve to prevent air re-entry.
These actions will guarantee effective air bubble removal, restoring your brakes’ performance.
Finalizing the Bleed
To finalize the bleed, you’ll want to guarantee that the reservoir is nearly full before sealing it with the provided bung to prevent fluid leakage.
Carefully unscrew the reservoir from the brake lever, ensuring you don’t spill any remaining fluid. Dispose of the old hydraulic mineral oil according to local regulations, as improper disposal can lead to environmental contamination.
Next, thoroughly clean the area around the brake lever and caliper to eliminate any spilled fluid, which helps maintain peak performance.
Finally, replace the dust cap on the caliper to protect the bleed port from dirt and debris after completing the bleed process.
Common Signs of Air in the System
After finalizing the bleed, it’s important to monitor your hydraulic brake system for any signs of air that might’ve entered.
Recognizing these indicators can help you maintain peak braking performance:
- A spongy or soft brake lever feel
- Brake lever pulling all the way to the handlebar
- Inconsistent braking performance, including delayed response
- Hearing a “squishy” sound or observing bubbles in the brake fluid reservoir
- Frequent need to pump the brake lever for effective braking
Addressing these signs promptly will guarantee the hydraulic integrity of your brakes remains intact, enhancing your overall riding safety.
Safety Tips and Best Practices
When bleeding your bike’s hydraulic brakes, always wear gloves and safety goggles to protect yourself from harmful hydraulic fluid.
Maintain a clean work area to prevent contamination of the brake system, and use a proper Shimano brake bleeding kit to guarantee you’re working with the right tools and fluids.
Finally, have a container ready to catch any excess fluid and dispose of it properly to keep your workspace safe and tidy.
Wear Protective Gear
Safety should always be your top priority when bleeding hydraulic brakes at home. To protect yourself effectively, make sure you equip yourself with the right gear.
Here’s what you need:
- Gloves: Protect your hands from hydraulic fluids that can irritate your skin.
- Safety goggles: Shield your eyes from potential splashes of brake fluid.
- Ventilation: Work in a well-ventilated area to avoid inhaling fumes.
- Apron or old clothing: Guard against spills, as hydraulic fluid stains fabrics.
- First aid kit: Keep it nearby for any accidental injuries or spills.
Stay safe and focused during the process!
Work in Clean Area
A clean workspace is essential for effectively bleeding hydraulic brakes at home.
Start by ensuring your area is free from dirt and debris to prevent contamination of hydraulic components. Use clean cloths and gloves when handling brake parts and fluids, as this minimizes the risk of introducing foreign substances.
Keep all your tools organized and within reach to maintain efficiency and avoid any mishandling. Additionally, perform the bleeding process in a well-ventilated area to prevent inhaling harmful fumes from brake fluid.
Following these practices guarantees a safer and more effective brake bleeding experience.
Dispose of Fluids Properly
After ensuring your workspace is clean and organized, proper disposal of used hydraulic brake fluid becomes the next critical step.
Follow these guidelines to dispose of fluids safely:
- Check local regulations regarding hazardous waste disposal.
- Store used brake fluid in a sealed container until disposal.
- Never pour brake fluid down sinks, toilets, or storm drains.
- Wear gloves and safety goggles to protect against irritation.
- Contact local bike shops or automotive centers for proper disposal options.