If your bike’s rotors rub, it’s likely due to a bent rotor. Start by spinning the wheel to identify contact points. Use a tool like the Park Tools DT-2 or an adjustable spanner to carefully apply force to the bent area until it’s straightened. Make sure your tools are clean to avoid contaminating the braking surface. Regularly check your rotors for warping, and learn effective maintenance tips to prevent rubbing issues in the future.
Key Takeaways
- Spin the wheel to identify the bent rotor area causing the rubbing.
- Use a Park Tools DT-2 or adjustable spanner to apply force to the bent section.
- Ensure all tools are clean to avoid contaminating the braking surface during adjustments.
- After making adjustments, spin the wheel again to check for improvements.
- Seek professional help if the rotor shows severe bending or multiple wavy sections.
Understanding Rubbing Disc Brake Issues
When you notice your disc brakes rubbing, it’s often due to a bent rotor, which can be identified by spinning the wheel and checking the rotor for contact points within the caliper.
To assess this rubbing, focus on areas that appear misaligned, similar to identifying a buckled wheel. Regular maintenance of your rotor is vital; it not only helps prevent rubbing but also extends the lifespan of your braking system.
Look out for signs of severe damage, like wavy rotors, which indicate overheating and may require rotor replacement. Proper handling and transportation of your bike are essential to avoid damaging the rotors.
Tools Required for Rotor Alignment
Addressing rubbing issues is only the first step; having the right tools for rotor alignment is equally important.
Addressing rubbing issues is just the beginning; having the correct tools for rotor alignment is crucial for optimal performance.
In the first place, a dedicated tool like the Park Tools DT-2 is highly recommended for precise adjustments. If you don’t have that, an adjustable spanner can serve as a pretty simple alternative.
Always verify your tools are clean and free from grease or oil to maintain brake performance. Proper usage allows for accurate force application on the bent section of the rotor, essential for effective alignment.
Regularly check and maintain your alignment tools to enhance their effectiveness and longevity.
Steps to Straighten the Rotor
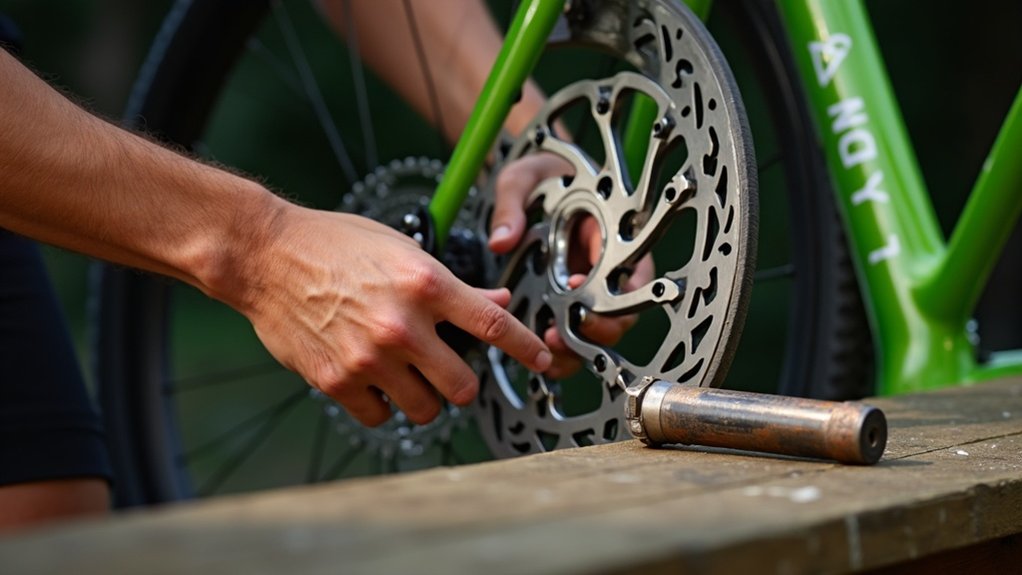
To straighten the rotor effectively, start by identifying the bent area. Spin the wheel and listen for any rubbing sounds through the caliper. Use a dedicated tool like the Park Tools DT-2 or an adjustable spanner to apply force directly to the bent section. Make certain your tools are clean to prevent contaminating the braking surface. After adjustments, spin the wheel again to check for improvements and address any other bent areas. If you notice severe bending or multiple wavy sections, consider visiting a bike shop next time for a replacement instead of further attempts at realignment.
| Step | Action | Tool Needed |
|---|---|---|
| Identify the Bend | Spin wheel, listen for rubbing | None |
| Apply Force | Adjust bent section | Park Tools DT-2 |
| Check Improvements | Spin wheel after adjustments | None |
| Assess Condition | Determine if replacement is needed | None |
Identifying Signs of Severe Damage
Severe damage to bike rotors often manifests as a wavy appearance, which signals multiple areas of bending that can compromise braking performance.
If you notice this distortion, it’s essential to recognize that attempts to realign a severely bent rotor may be futile, necessitating full replacement. Wavy rotors can lead to inconsistent braking, increasing wear on brake pads and other components.
Regularly inspect your rotors for signs of warping or severe damage to address safety and performance issues proactively. In cases of extreme damage, visiting a local bike shop for a professional assessment and replacement is often your best option.
Maintenance Tips for Preventing Rubbing
To prevent rotor rubbing, regularly check your bike’s brakes to catch any misalignments early.
Make sure you transport your bike carefully to avoid bending the rotor, and stick to a routine maintenance schedule to keep everything in prime condition.
Regular Brake Checks
Regular brake checks are essential for maintaining peak bike performance and preventing rotor rubbing. Inspect the rotor frequently for any bending or warping, particularly after transporting your bike or during hard braking.
Verify the brake caliper mounts are clean and free from debris, as this promotes proper alignment. Regularly check the rotor spacing between the brake pads to confirm they’re evenly aligned, avoiding unnecessary friction.
Keep an eye on your brake pads; worn pads can lead to misalignment issues. Finally, perform routine maintenance by cleaning and lubricating components to prevent buildup that affects rotor alignment.
Proper Bike Transport
When transporting your bike, it’s crucial to take specific precautions to prevent rotor rubbing and potential damage. Follow these tips to guarantee your bike arrives safely:
- Always remove the front wheel to prevent rotor contact with the brake caliper.
- Use a bike-specific rack or padded cover to limit movement during transport.
- Protect the brake rotor with foam or soft materials when using a bike bag or box for air travel.
- If stacking bikes, position them carefully to avoid rotor contact, which can cause misalignment.
Regularly check rotor alignment before and after transport to maintain peak performance.
Routine Maintenance Schedule
A well-structured routine maintenance schedule is essential for preventing rotor rubbing and ensuring ideal brake performance.
Regularly inspect your bike’s rotors for bending or damage, especially after transport or hitting obstacles. Clean the brake components, including rotors and calipers, to prevent grease buildup that can worsen rubbing.
During maintenance, check rotor alignment by spinning the wheel and observing for contact with the caliper; adjust as necessary. Schedule a thorough check at least once a month, focusing on the brake system.
Finally, keep your tools organized and clean to facilitate quick adjustments and repairs when needed.
When to Replace Your Disc Brake Rotor
How can you tell if it’s time to replace your disc brake rotor? Look for these critical signs:
Identifying when to replace your disc brake rotor is crucial for safety and performance. Look for these key indicators.
- Wavy surface: If your rotor’s bent and appears wavy, replacement is necessary.
- Overheating: Excessive heat can cause permanent deformation, rendering realignment ineffective.
- Persistent rubbing: A rotor that rubs against the caliper despite adjustments is likely too damaged.
- Deep grooves or cracks: Regularly check for excessive wear; these defects indicate it’s time for a new rotor.
Ignoring these signs can compromise your safety and performance, so stay proactive about your disc brake rotor’s condition.